
BakeRecipes
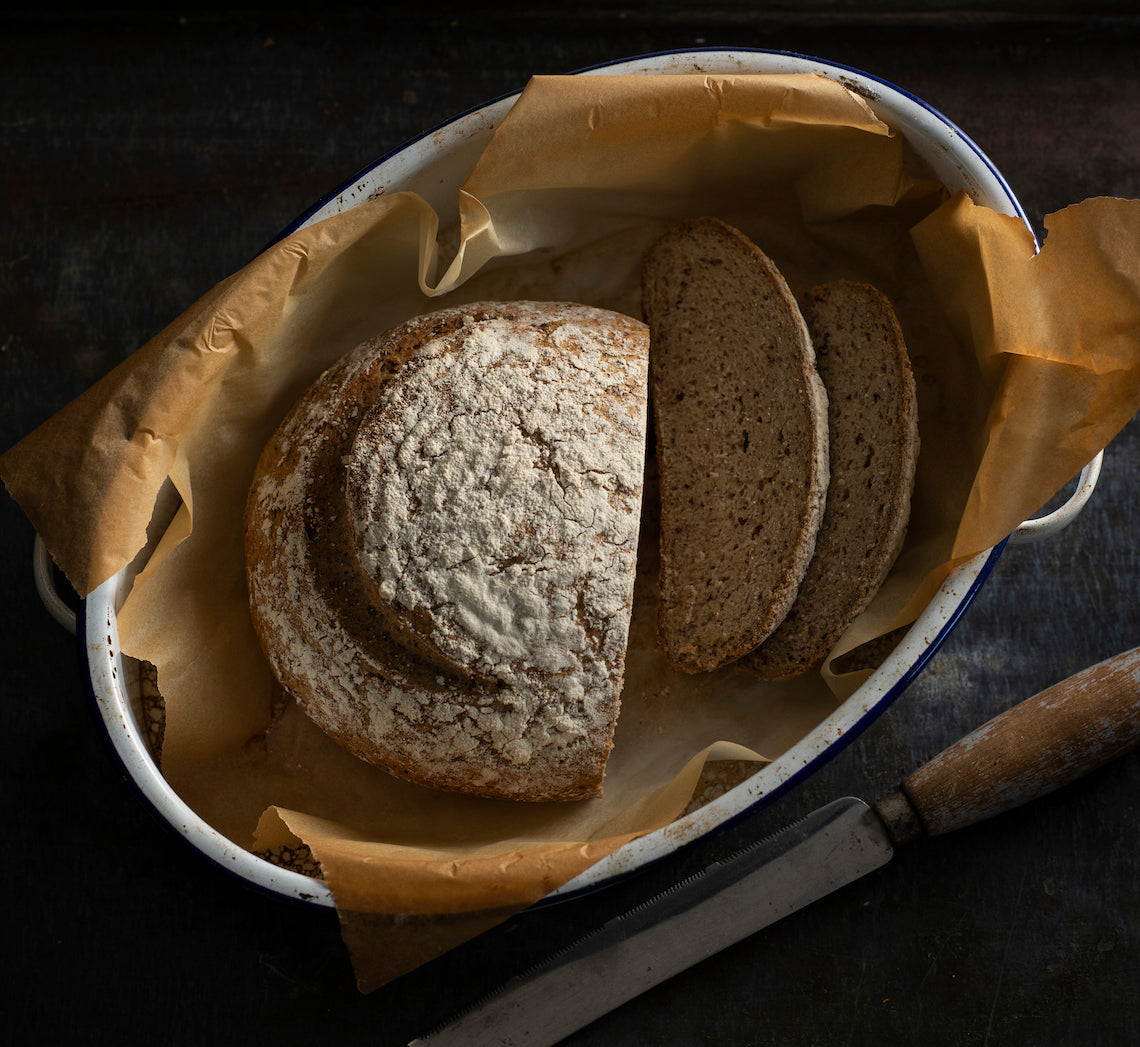
Artisan-style Gluten-free Bread
Prep 20min (+2-2.5hr proving and 3hr cooling time)Bake 1hr 10minMakes 1 loaf
This loaf has a beautifully soft crumb and a crisp crust all thanks to a clever combination of gluten-free flours and ingredients. It is great served fresh on the day of baking or toasted after that. This recipe uses a Dutch oven (cast iron pot) or covered enamel roaster which also contributes to the lovely crisp crust and good volume, but it can also be baked in a loaf tin if you wish (see instructions for this at the end of the recipe).
Ingredients
120g (4¼oz) fine brown rice flour, plus extra to dust
100g (3½oz) sorghum flour
60g (2¼oz) potato starch
60g (2¼oz) sweet (glutinous) rice flour
1 teaspoon fine salt
1 x 7g sachet (2 teaspoons/¼oz) instant dried yeast
550ml (18½fl oz) warm water
1 tablespoon honey
20g (¾oz) psyllium husks
20g (¾oz) ground linseeds (ground flaxseed)
Method
- Line a medium 1.5 litre (2⅓pt) capacity bowl with a cloth or clean tea towel and sprinkle the cloth with extra brown rice flour (see Baker’s Tips). Set aside.
- Sift together the brown rice flour, sorghum flour, potato starch, sweet (glutinous) rice flour and salt in a large bowl. Add the yeast and mix to combine. Combine the warm water and honey in a separate medium bowl. Add the psyllium husks and ground linseeds and stir immediately – it will form a gel-like mixture. Add the wet ingredients to the dry ingredients and use a wooden spoon to mix to a soft dough.
- Turn the dough out onto a lightly floured surface and knead for 1-2 minutes or until the dough becomes smooth and pliable. Transfer to a medium bowl, cover with plastic wrap and set aside in a warm, draught-free place for 1 hour or until doubled in size.
- Turn the dough onto a lightly floured surface and knead for about 1 minute or until the dough becomes smooth and pilable again. Shape into a ball and lightly coat the outside of the dough with rice flour. Transfer to the lined bowl, seam side up and cover the dough lightly with any overhanging cloth. Place the bowl in a plastic bag and seal the bag. Set aside in a warm, draught-free place for 1-1½ hours or until the dough has doubled in size.
- About 30 minutes before baking the bread preheat oven to 250°C/480°F (230°C/440°F fan-forced). If using a Dutch oven (cast iron pot) place this on the middle rack in your oven to preheat (if using an enamel roaster there is no need to preheat the roaster).
- Line an oven tray with a piece of non-stick baking paper. Uncover the dough in the bowl and then place the upturned lined oven tray on top and invert the dough
onto the tray. Use a small sharp knife or bread lame to score the top of the loaf with a 1cm (½in) deep cut. Use the baking paper to carefully transfer the dough to the preheated Dutch oven or enamel roaster. Add about 2 tablespoons of water to the pot or roaster under the baking paper. Cover with the lid immediately and place in the preheated oven. Bake for 30 minutes. Remove the lid, reduce the temperature to 230°C/440°F (210°C/410°F fan-forced) and bake for a further 40 minutes or until the loaf is baked through and sounds hollow when tapped on the top. (See Baker's Tips.) - Use the baking paper to remove the bread from the pot and transfer to a wire rack to cool completely before slicing (this will take about 3 hours).
Baker's Tips
- You can use a banneton (traditional bread proving basket) instead of the bowl to shape the loaf if you wish, lining it with a rice flour- dusted cloth.
- A soft, open-weave tea towel or cloth (preferably linen or muslin) is best to use to line the bowl or banneton.
- You will notice that the baking time for this bread is quite lengthy. This is because gluten-free breads, due to the flours they use, need a lot more moisture than their gluten-containing counterparts made with wheat flour. This extended baking will ensure that most of this moisture evaporates so the final crumb texture doesn't end up unpleasantly gummy. Also, as tempting as it may be, don’t slice the loaf until it has cooled completely – if you do, the crumb will compress and, again, it will give it a gummy texture.
- This bread will keep in a paper or cloth bag for up to 2 days.
- To freeze whole or in slices, seal in a plastic bag and freeze for up to 3 months. Thaw at room temperature or toast straight from the freezer.
Variation
Gluten-free Sandwich Bread
This dough can also be baked in a loaf tin. In Step 4 shape the dough into a log and place in a 9.5cm x 19.5cm (3¾in x 7¾in), base measurement, loaf tin that has been greased with olive oil and sprinkled with 1 tablespoon sesame seeds. Prove as in Step 4. Brush the top of the loaf with a little more olive oil and then sprinkle with more sesame seeds. Bake in preheated oven at 200°C/400°F (180°C/350°F fan-forced) for 1 hour and 20 minutes or until baked through and the loaf sounds hollow when tapped on the top. Remove from the oven and allow to stand for 5 minutes before transferring the loaf to a wire rack to cool completely.
Photography by Alan Benson.
This recipe is from our Gluten-free Baking Essentials online course, a no-fuss 'real' guide to the world of gluten-free baking.


