- home
- BAKERECIPES
BakeRecipes
Bringing real baking into your home with deliciously simple recipes.

Prep 11/2hr (+ standing time) Bake 15min (per batch) Makes about 28
Pretty to look at, divine to eat, these macarons were created by Allen Au, one of our Make Me a Baker graduates, to use as part of his Graduation cake recipe.
Ingredients
125g almond meal
125g pure icing sugar
96g egg whites
125g caster sugar
30ml water
Gel colouring (see Baker's tip)
Filling
125g unsalted butter
125g pure icing sugar, sifted
1 tablespoon sieved cherry jam
Method
- Preheat oven to 165°C (145°C fan-forced). Line two large oven trays with non-stick baking paper or silicone baking mats.
- Sift together the almond meal and icing sugar into a large bowl. Add half the egg white and mix until a thick paste forms.
- Combine the caster sugar and water in a small saucepan and stir over medium heat until the sugar dissolves. Bring to a boil and simmer over medium heat, brushing down the sides of the saucepan with a wet pastry brush occasionally to prevent any sugar crystals forming. Do not stir. Once the sugar mixture has reached 115°C on a sugar thermometer, use an electric mixer with a whisk attachment to whisk the remaining egg white on medium-high speed until soft peaks form. Once the sugar mixture has reached 118°C, remove the saucepan from the heat and slowly whisk the hot sugar mixture into the egg whites. Continue to whisk on medium-high speed until the temperature cools to 30°C. The meringue should be thick and glossy. Add enough gel colour to the meringue to tint to the desired colour, whisking until evenly combined.
- Fold 2 large tablespoons of the meringue into the almond paste mixture until well incorporated. Fold in the remaining meringue until evenly combined. The consistency of the batter should look like molten lava. If you can draw a figure eight and the trail stays on the surface, then the mixture is ready to be piped.
- Spoon the mixture into a piping bag fitted with a 10mm round nozzle. Pipe the macarons onto the lined trays into 3.5cm rounds. Tap the tray to remove any air bubbles from the macarons. Leave the macarons out in the open until a skin forms on the surface of the macaron. (This can take from 20 minutes to an hour depending on the humidity). The skin should be dry enough that it does not stick to your finger when touched lightly.
- Bake one tray of macarons in the centre of the preheated oven for 15 minutes or until shells don't feel soft at the 'feet' when touched. Set aside to cool on the tray and repeat with the remaining tray of macarons.
- To make the Filling, use an electric mixer to beat the butter until it is pale and creamy. Beat in the icing sugar until well combined. Add the cherry jam and beat until well combined. Spoon the filling into a piping bag fitted with a 7mm star nozzle and pipe a small rosette onto the base of half the macarons. Sandwich with the remaining macarons.
- Store the macarons in the fridge overnight so the flavours from the filling are absorbed by the shells. Bring the macarons to room temperature before serving.
Baker's Tips
- Allen used Chefmaster Liqua-Gel colours to colour his macarons – he used 8 drops of Super Red with 0.5 drop of Black Diamond
- This recipe is based on a recipe from a course Allen did with Australian Patisserie Academy

Prep 11/2hr (+ macaron prep)Bake 18-20min (per batch)Makes 10 serves
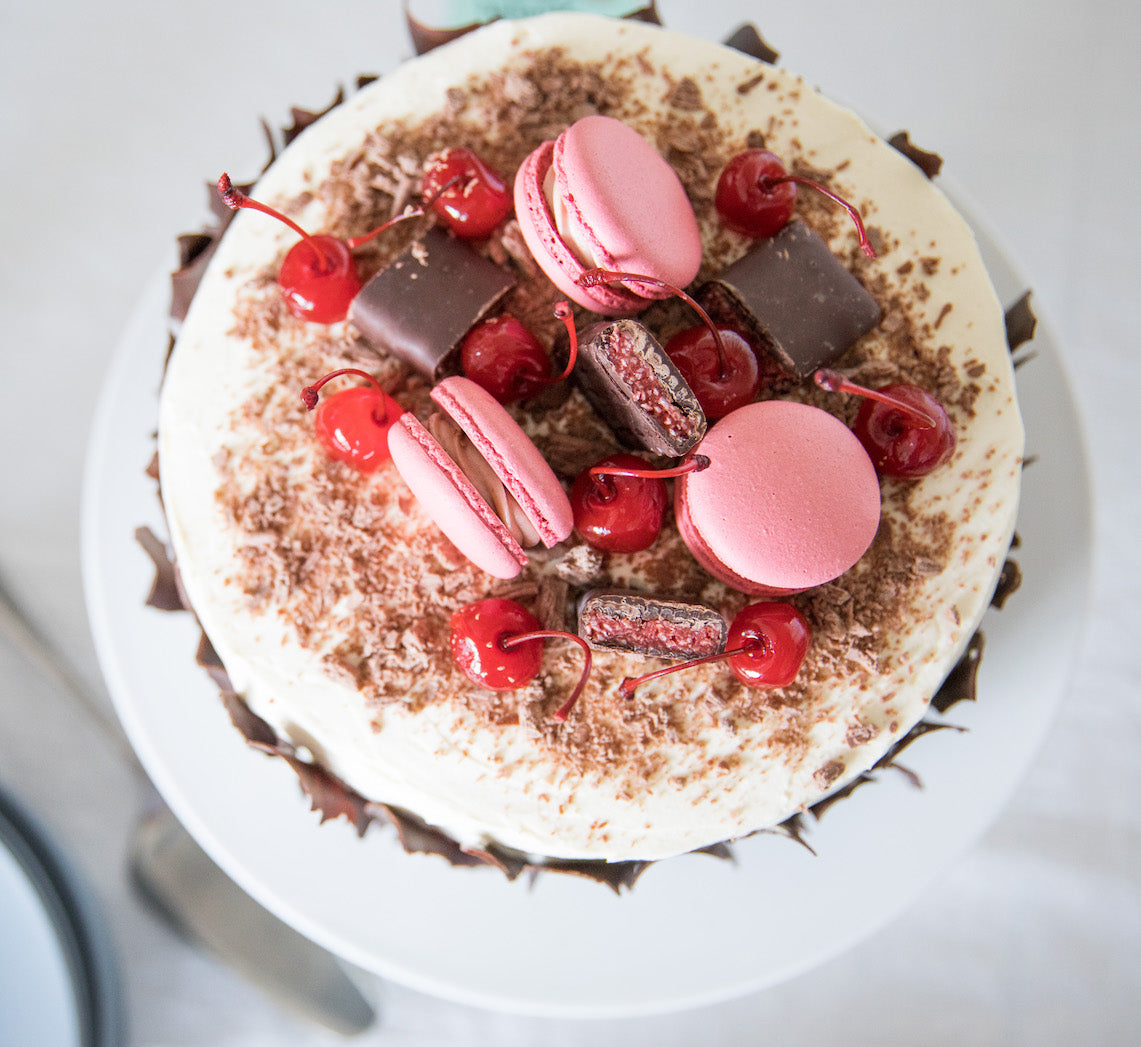
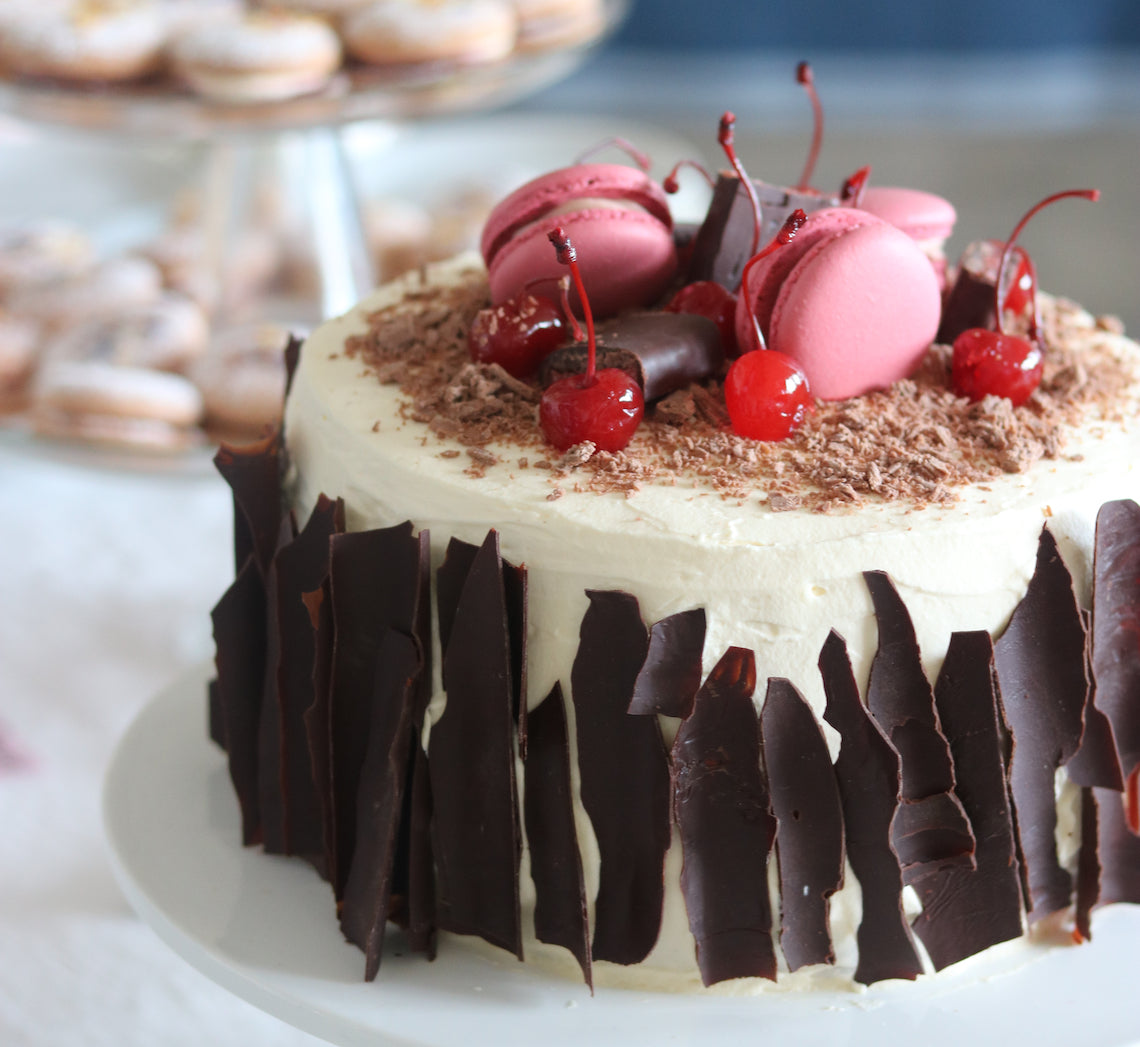
Created by Make Me a Baker student, Allen Au for his graduation, this cake is certainly a show stopper.
Before starting the program Allen had always found making sponge cakes challenging and had almost given up on ever making another again. But, he set himself the challenge of perfecting a sponge and creating a version of Black Forest cake that his wife had always wanted him to. The result was a modern cake bursting with flavour and showcasing Allen's newly-acquired baking skills!
The sponge cake in this recipe is a version of the one students learn to make during the Make Me a Baker program.
Ingredients
Chocolate Sponge Cake (2 layers)
Melted butter, to grease
4 eggs, at room temperature
150g caster sugar
60ml milk
30g salted butter
110g self-raising flour
30g cocoa powder
Chocolate Sponge Cake (1 layer)
Melted butter, to grease
2 eggs, at room temperature
75g caster sugar
30ml milk
15g salted butter
55g self-raising flour
15g cocoa powder
Kirsch Syrup
80g caster sugar
90ml water
60ml kirsch
To Assemble
900ml thickened cream
200g cherry jam
1½ x 680g jars pitted Morello cherries, drained
To Decorate
Chocolate bark (see Baker's tips)
10 Maraschino cherries with stems, drained
2 Cadbury Cherry Ripe double-dipped chocolate bar, cut into 3-4 pieces
1½ Cadbury Flake bar, broken into fine pieces
3 cherry macarons (get Allen's Cherry Macaron recipe HERE)
Chocolate Sponge Cake Layers
- To make the Chocolate sponge cake layers, place the oven rack in the oven so that the cake tins will sit in the middle of the oven and then preheat to 180°C (160°C fan-forced). Brush two 20cm shallow cake tins with melted butter to grease and line the base of each with a sheet of non-stick baking paper. You will need to reuse one of the cake tins to make the third sponge layer later.
- To make the first two layers of sponge, use an electric mixer with a whisk attachment on medium-high speed to whisk the 4 eggs in a large bowl until frothy. Add the sugar a spoonful at a time, whisking well after each addition, until the mixture is very thick and pale (this will take about 8 minutes). Lift the whisk out of the mixture and draw a figure eight. If the trail stays on the surface long enough to finish drawing, then the mixture is ready. If not, continue to whisk for a further minute.
- Meanwhile, heat the milk and butter in a small saucepan over medium heat until almost simmering. Remove from the heat and pour the warm milk mixture down the side of the mixing bowl. Quickly sift the flour and cocoa powder together over the egg mixture and then immediately whisk again with the electric mixer on low speed briefly until the flour mixture is just incorporated (be careful not to overmix). Scrape the base of the bowl and then whisk briefly again, if necessary.
- Divide the mixture evenly between the cake tins (see Baker’s tips) and gently tap the tins on the benchtop three times to settle the mixture. Bake in preheated oven for 18-20 minutes or until the cakes spring back when lightly touched in the centre and start pulling away from the sides of the tins. Remove from the oven and immediately use a small palette knife to loosen the sides of the sponges from the tins and turn onto a wire rack to cool completely.
- Repeat steps 1–4 using the ingredients to make one more layer of sponge.
Kirsch Syrup
- Combine the caster sugar and water in a small saucepan. Stir over medium heat until the sugar dissolves. Bring to the boil and then remove from the heat. Stir in the kirsch. Set aside to cool to room temperature.
To Assemble
- When ready to assemble the cake, use a stand mixer or electric hand mixer with a whisk attachment to whisk the cream until soft peaks form. Place one of the sponge layers on a serving plate or cake stand. Use a pastry brush to generously brush the whole top surface with about one-third of the kirsch mixture. Spread half the jam over the top and then spread with enough whipped cream to create a layer about 1cm thick. Sprinkle with half the drained morello cherries. Repeat with the remaining sponge layers, kirsch syrup, morello cherries and cream layer, finishing with a sponge layer and kirsch syrup.
- Spread the remaining whipped cream over the sides and top of the cake to cover.
- To decorate, attach the chocolate bark to the outside of the cake. Decorate the cake with the Maraschino cherries, chocolate bars, and macarons.
Baker's Tips
- To divide the mixture evenly between the tins, weigh the tins with the mixture in them to make sure they are the same weight.
- To make chocolate bark, spread melted dark chocolate thinly over a piece of baking paper, making sure the width is similar to the height that your final cake will be. Place a second piece of baking paper over the chocolate to cover. Roll the two sheets of baking paper together into a thin cylinder. Secure with bulldog clips or pegs on both ends. Place in the fridge until set and ready to use. To use the chocolate bark, carefully remove the baking paper and break to desired widths.


