Prep 25minBake 35minMakes 8-10 serves
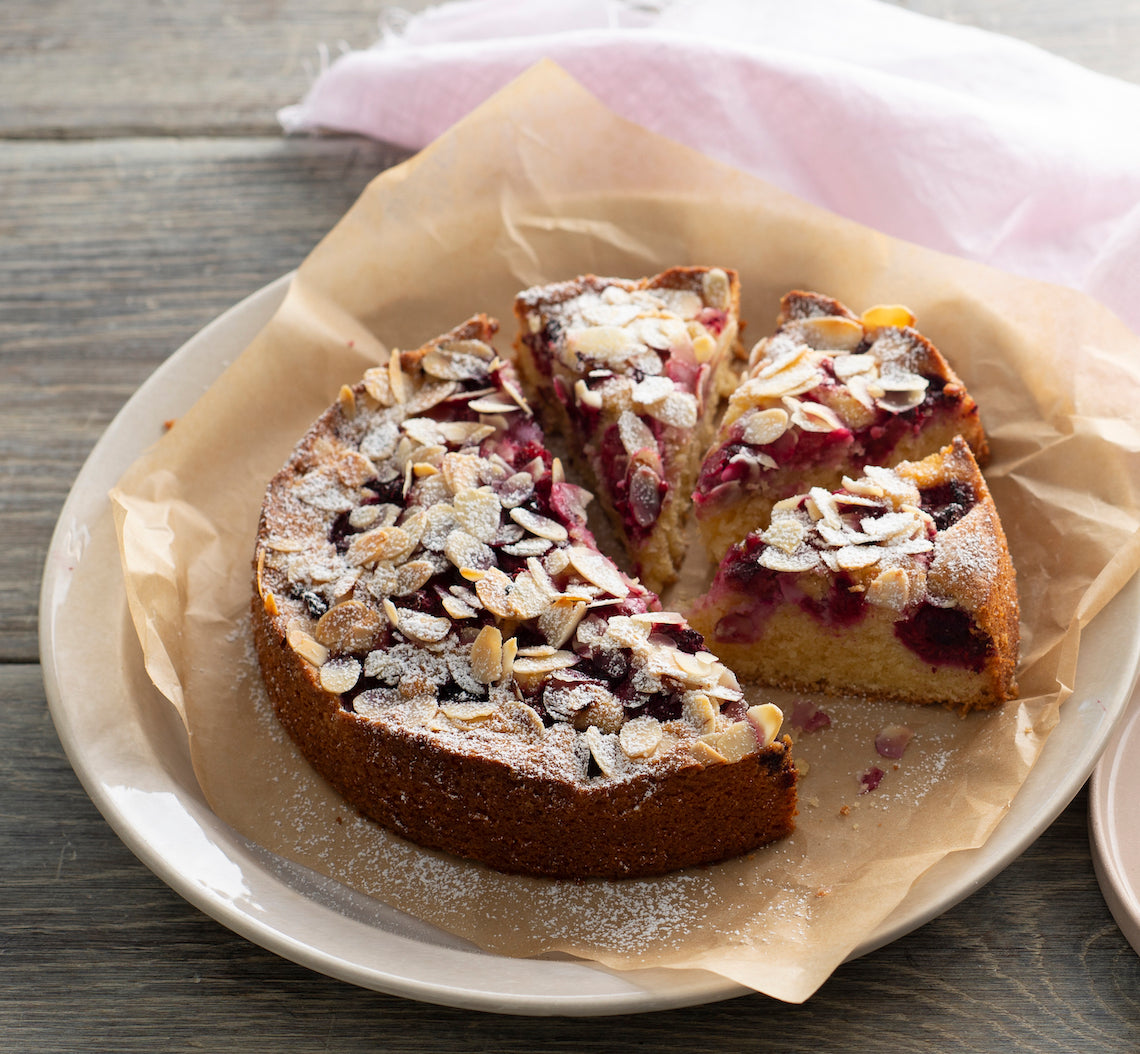
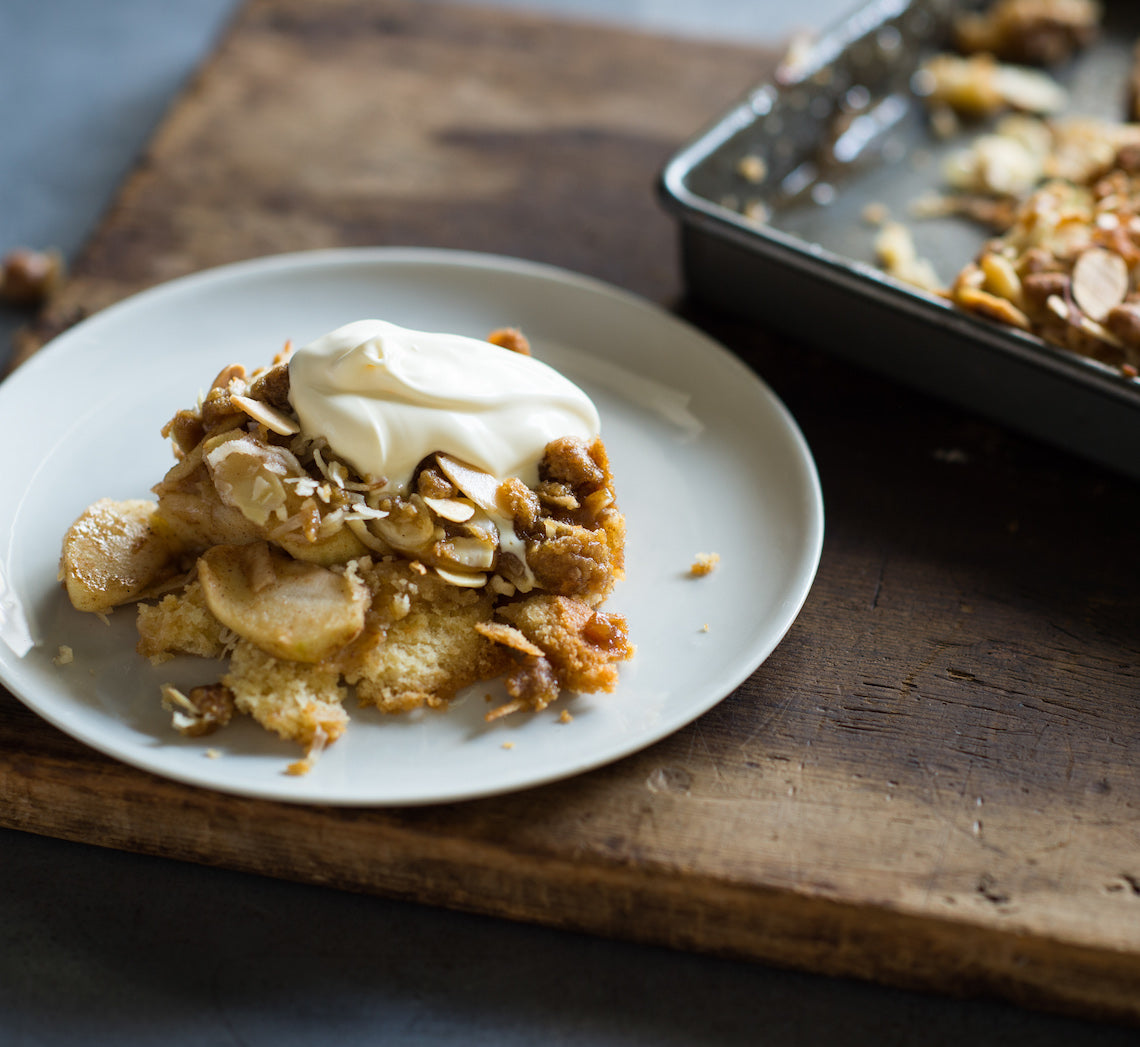
With its shortbread-like base, tart apple filling and crunchy crumble topping, this is a slice that you eat with a fork or spoon, not your fingers. It's more suited to dessert than afternoon tea... although, by all means, feel free to indulge mid-afternoon!
Ingredients
melted butter, to grease
800g apples (such as Granny Smith or Golden Delicious)
75g (⅓ cup) caster sugar
1½ teaspoons ground cinnamon
thick cream or vanilla ice cream, to serve
Base
190g (1¼ cup) plain flour
1 teaspoon baking powder
110g (½ cup) caster sugar
125g unsalted butter, cubed, softened
1½ teaspoons natural vanilla essence or extract
1 egg
Crumble topping
50g (⅓ cup) plain flour
100g (½ cup, firmly packed) brown sugar
80g chilled unsalted butter, cubed
40g (½ cup) shredded coconut
75g (¾ cup) flaked almonds
Method
- Preheat the oven to 180°C. Brush a 20 x 30cm shallow slice tin with melted butter to grease.
- To make the Base, put the flour, baking powder, sugar and butter in the bowl of a food processor and process until the mixture resembles breadcrumbs. Whisk the egg with the vanilla, add to the flour mixture and use the pulse button to process until the mixture forms a soft dough. Bring together with your hands and then press the dough evenly over the base of the greased tin to evenly cover. Place in the fridge.
- Meanwhile, to make the Crumble Topping, put the flour and brown sugar in a medium bowl and use your fingertips to rub in the butter until roughly combined. Stir in the coconut and almonds.
- Peel, core and thinly slice the apples and put in a large bowl. Combine the sugar and cinnamon, sprinkle over the apples and toss to coat evenly. Arrange the apple slices over the Base in the tin and then sprinkle evenly with the Crumble Topping. Set aside.
- Bake in preheated oven for 30-35 minutes or until the base is cooked, the Crumble Topping is golden, the apples are tender when tested with a skewer, and the base is cooked through.
- Serve warm or at room temperature cut into portions and accompanied by cream or ice cream.
Baker's Tips
- This slice is delicious served either warm or at room temperature. It will keep, covered, in the fridge for up to 3 days. Bring to room temperature or warm gently in the microwave to serve.
This recipe is from Anneka's SBS Food online column, Bakeproof: Apples. CLICK HERE for more Bakeproof recipes.
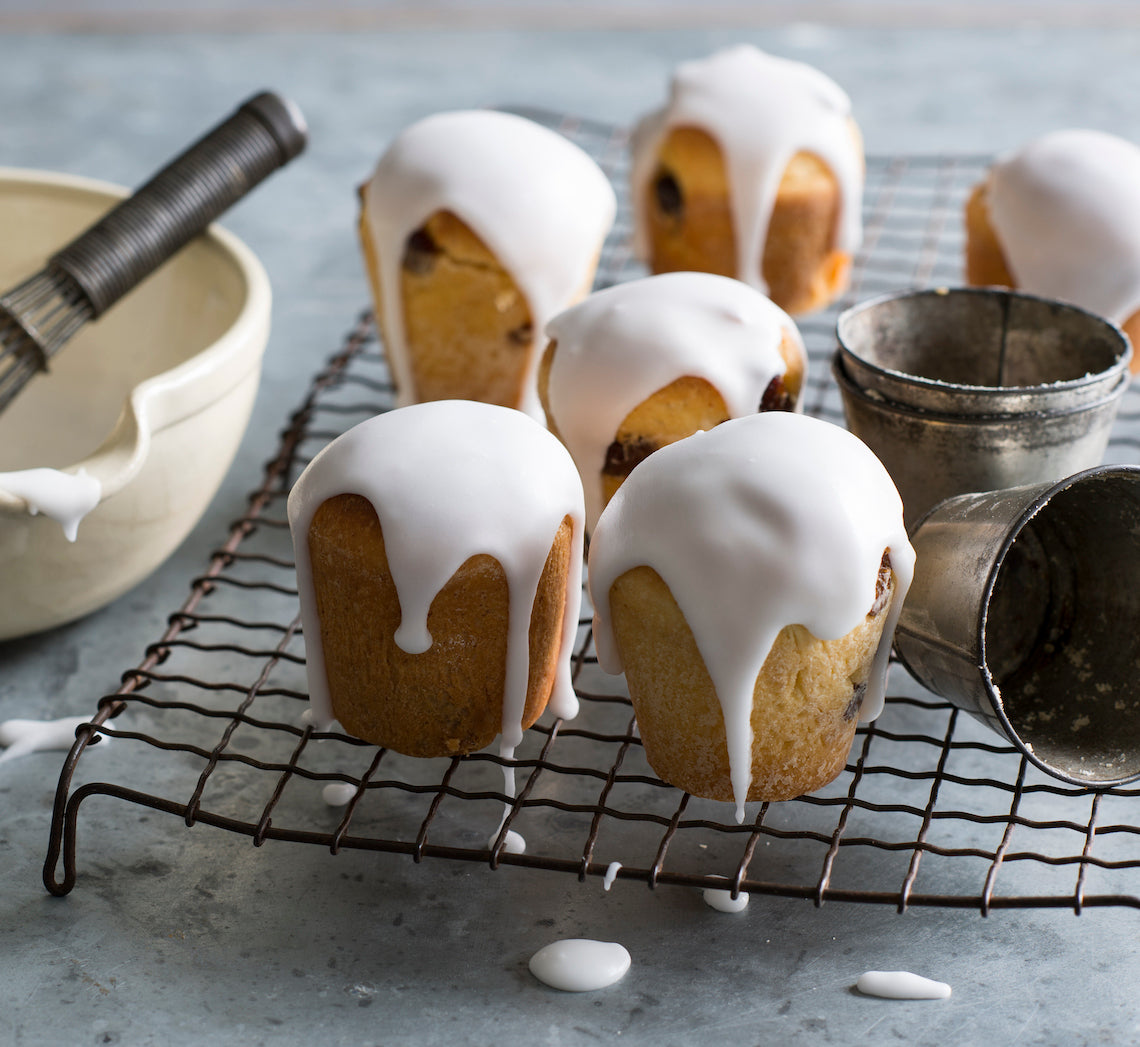
Photography by Alan Benson.