- home
- BAKERECIPES
BakeRecipes
Bringing real baking into your home with deliciously simple recipes.
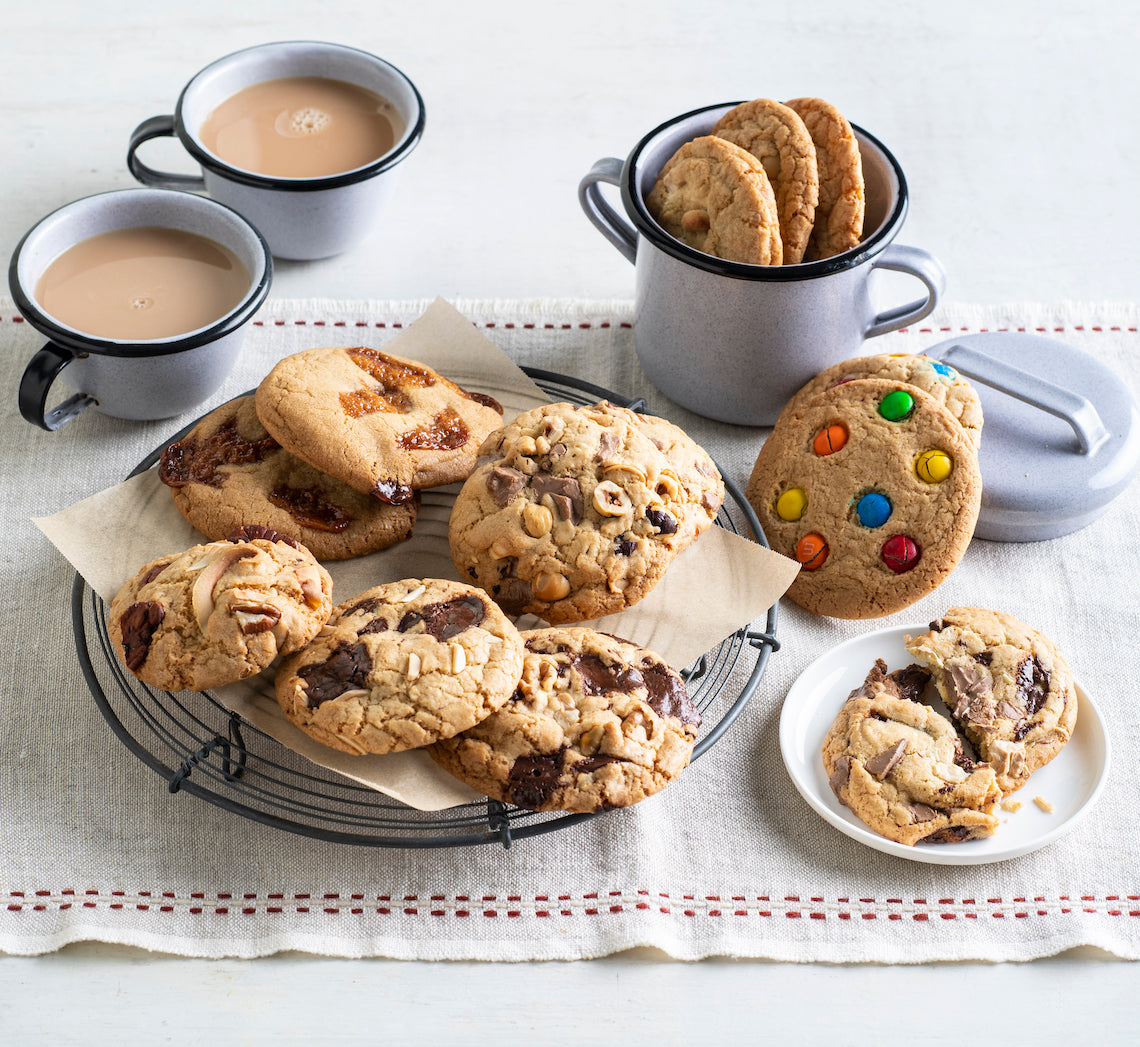
Prep 20minBake 15-25 minMakes about 12 large cookies
This great basic cookie recipe (requiring only a bowl and a wooden spoon to mix) can be customised depending on your flavour and texture preferences… Choose from the suggested ingredients to add your twist and to personalise the cookies – the variation options are only limited by your imagination (and a little baking science)!
Ingredients
Base
125g (4½oz) salted butter, melted
110g (½ cup/4oz) caster sugar
110g (½ cup, firmly packed/4oz) brown sugar
1 egg, at room temperature
185g-225g (6½oz-8oz) plain flour (see Baker's Tips)
½ teaspoon bicarbonate of soda
Ingredients for flavour (choose at least 1)
1-2 teaspoons vanilla essence or extract or vanilla bean paste
½ teaspoon ground cinnamon
1 orange, lemon or lime, zest finely grated
Sea salt flakes, to taste
Ingredients for texture (choose at least 1)
100g (3½oz) chocolate (dark, milk, white or a combination) – 150g if not using nuts also
100g (3½oz) toasted nuts (macadamias, pecans, salted peanuts, peeled hazelnuts, almonds, walnuts or pistachios), coarsely chopped
150g (5¼oz) Smarties or M&M's
100g (3½oz) soft caramels, chopped
1 cup shredded or flaked coconut
Method
- Preheat oven to 180°C/350°F (160°C/315°F fan-forced). Line a large oven tray with non-stick baking paper.
- Combine the butter, caster sugar and brown sugar in a medium bowl and beat with a wooden spoon until smooth and well combined. Add the egg (and vanilla and/or citrus zest if using) and beat with the wooden spoon until the mixture becomes pale, creamy and thickens slightly (this will take 1-2 minutes).
- Sift together the flour (see Baker’s Tips) and bicarbonate of soda (and cinnamon if using). Add to the butter mixture and stir until well combined. Add the chocolate, nuts, Smarties, M&M's and/or caramels and stir to combine evenly.
- Roll 2 level tablespoonfuls (see Baker's Tips) of the cookie dough into balls and place on the lined oven tray about 10cm (4in) apart (see Baker's Tips).
- Bake in preheated oven for 5 minutes. Lift the baking tray on one side and let it fall back onto the oven rack 3 times (see Baker’s Tips). Sprinkle with coconut or finely chopped nuts if using. Bake for 5 minutes longer then lift the baking tray on one side and let it fall back onto the oven rack 3 times again. Bake for a further 5-15 minutes (see Baker’s Tips).
- Cool the cookies on the trays for 5 minutes or until firm enough to transfer to a wire rack to cool completely. Repeat with the remaining cookie dough.
Baker's Tips
- Using less flour (185g/6½oz) will mean that your cookies will spread more and be thinner than if you use more flour (225g/8oz).
- To bake smaller cookies, roll 1 tablespoon measure of dough into balls and place on the oven trays at least 7.5cm (3in) apart. Bake as per recipe.
- You can use a small ice-cream scoop to scoop your cookie dough and place it straight onto the oven trays but you will find the cookies will be more evenly shaped if rolled before baking.
- Chilling the balls of dough for 30 minutes before baking will give your cookies more contrast in texture between a softer centre and a more crisp outer edge.
- Banging the trays on the oven racks during baking will give the cookies a ‘crinkled’ appearance once baked and will also be thinner than those that aren’t.
- You can determine the texture of these cookies by adjusting the baking time. 15 minutes will give you a cookie with a soft, chewy centre and crisp outer; 20 minutes will give you a slightly soft centre and crisp outer; while 25 minutes will mean the cookies are crisp all the way through.
- These cookies will keep in an airtight container at room temperature for up to 1 week.
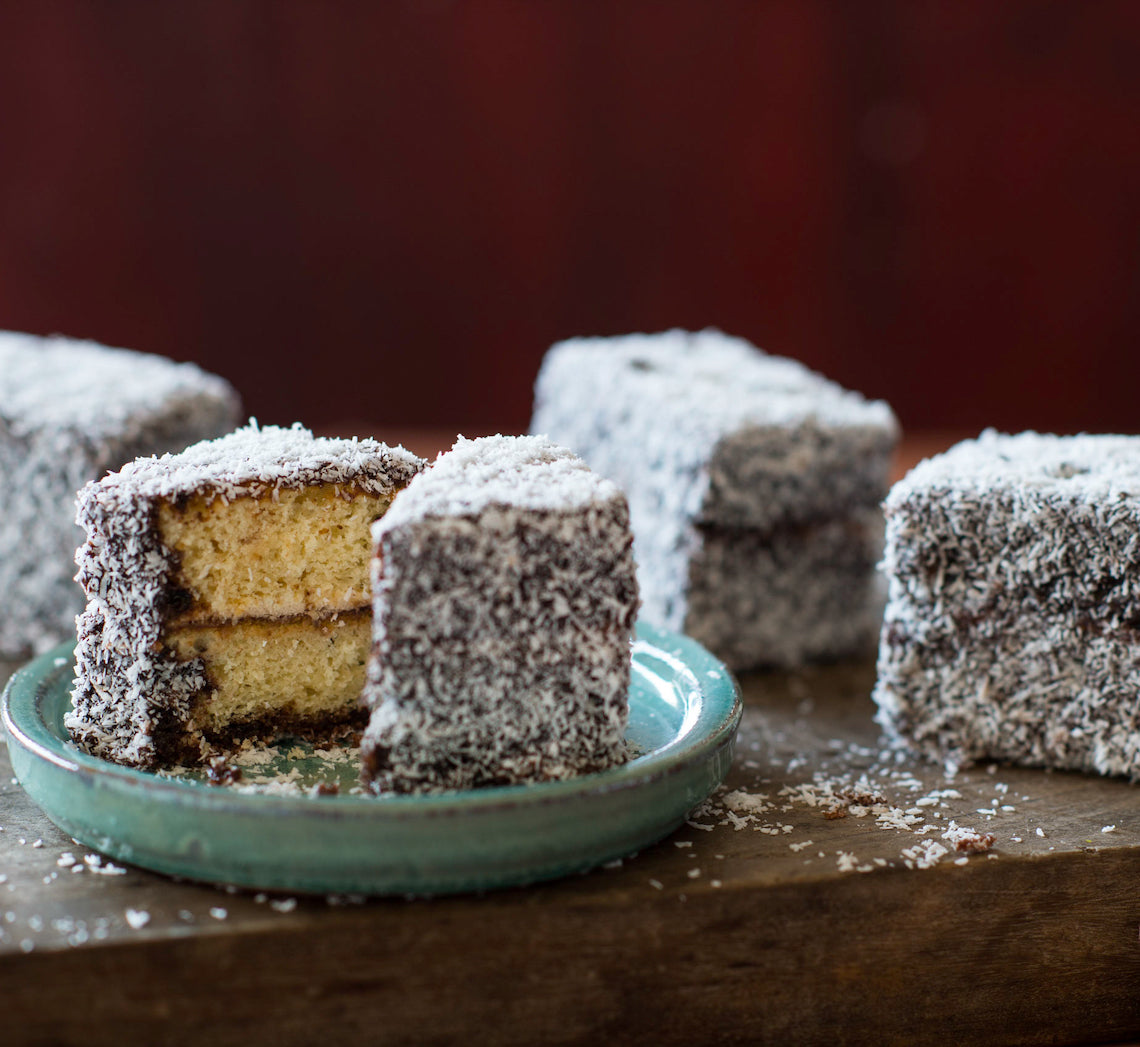
Prep 40min (+ 40min cooling and 20min chilling time)
Bake 20minMakes 9
Gluten-free cakes are sometimes hard to come by. Moist and flavoursome, these lamingtons won’t disappoint. Those with gluten or wheat intolerances and sensitivities won’t ever have to compromise if wanting to enjoy this Australian classic.
Ingredients
80ml (⅓ cup) thickened cream, whisked to firm peaks180g (2 cups) desiccated coconut, to coat
Gluten-free buttercake
175g (1¼ cups) purchased gluten-free plain flour mix2½ teaspoons gluten-free baking powder
165g (¾ cup) caster sugar
125g unsalted butter, cubed, softened
2 eggs, at room temperature
80ml (⅓ cup) milk
2 teaspoons natural vanilla extract or essence
Chocolate icing
465g (3¾ cups) pure icing sugar55g (½ cup) cocoa powder
150ml boiling water
1½ teaspoons vanilla essence
Method
- To make the gluten-free buttercake, preheat the oven to 180°C. Grease a 20 x 30cm (base measurement) shallow cake tin and line the base and two longs sides with one piece of baking paper.
- Put the flour, baking powder, sugar, butter, eggs, milk and vanilla in a large mixing bowl. Use an electric mixer to beat on low speed until combined. Increase the speed to medium and beat for 3 minutes or until the mixture is well combined and very pale in colour. Spoon the mixture into the lined tin and spread evenly using the back of a spoon. Lightly tap the tin on the bench 3 times to get rid of any excess air bubbles.
- Bake for 20 minutes or until cooked when tested with a skewer. Cool for 5 minutes in the tin, then turn onto a wire rack to cool completely (this will take about 40 minutes).
- To make the Chocolate Icing, sift the icing sugar and cocoa powder into a medium bowl. Add the boiling water and vanilla and stir until smooth (it should be the consistency of pouring cream).
- Trim the edges of the cooled cake and then cut in half to form two layers about 20 x 15cm. Spread one half of the cake with a little of the Chocolate Icing and then spread whipped cream. Top with the remaining cake half. Chill for 20 minutes or until the cream is firm enough to cut the cake.
- Use a sharp serrated knife to cut the layered cake into 9 portions (about 6.5 x 4.5cm each). Run a palette knife around the cut surface of each lamington to remove any excess cream.
- Spread the coconut on a tray or plate. Rest a cake portion on a fork, dip into the chocolate icing and then and spoon the icing over the top and sides to completely coat. Allow any extra icing to drip off. Roll the cake in the coconut to coat evenly. Place on a wire rack. Repeat with the remaining cake portions, icing and coconut.
Baker's Tips
- If the icing becomes too thick while you are coating the cake pieces, stir in enough extra boiling water, adding it a teaspoon at a time, to thin to the right consistency.
- These lamingtons will keep in an airtight container in the fridge for up to 2 days. Stand at room temperature for at least 30 minutes before serving.
This recipe is from Anneka's SBS Food online column Bakeproof: Lamingtons. CLICK HERE for more Bakeproof recipes.
Photography by Alan Benson.

Prep 30min (+ 1hr proving time)Bake 15-18minMakes 4 serves
This is a terrific pizza recipe and it's particularly fun to make with kids. It has become a favourite in our house and when the kids were younger it was a regular fixture for Friday night dinner, when their friends would come for a play and early dinner. Together we would knead and roll the dough, then top it, bake it and eat it. They loved it and I'm sure you will too!
Ingredients
Dough
450g (3 cups) strong bread or pizza flour, plus extra to dust
1 x 7g sachet instant dried yeast
1½ teaspoons salt
310ml (1¼ cups) lukewarm water
1 tablespoon olive oil
Pizza Sauce
1 tablespoon olive oil
½ brown onion, finely diced
1 garlic clove, crushed
½ teaspoon dried oregano
400g tin diced tomatoes
½ teaspoon sugar, or to taste
Salt and freshly ground black pepper, to taste
Topping
270g bocconcini, cut into 1cm-thick slices or torn into chunks
160g semi-dried tomatoes or 200g cherry or grape tomatoes (halved or quartered if large)
8 think slices prosciutto
50g rocket leaves
Freshly ground black pepper, to taste
Extra virgin olive oil, to drizzle
Method
-
To make the dough, combine the flour, yeast and salt in a large bowl and make a well in the centre. Combine the water and oil, then add to the flour mixture. Use a wooden spoon and then your hands to mix to a soft dough.
-
Turn the dough onto a lightly floured bench top and knead for 8-10 minutes, adding as little extra flour as possible, or until it is smooth and elastic and springs back when you push your finger into it.
-
Place the dough in an oiled bowl, turning it to coat lightly with the oil. Cover with plastic wrap and place in a warm, draught-free place for 1 hour or until doubled in size.
-
Meanwhile, to make the Pizza sauce, put the olive oil and onion in a medium saucepan over medium heat and cook, stirring occasionally, for 8 minutes or until the onion is tender. Add the garlic and oregano and cook for 1 minute or until aromatic. Add the tomatoes and bring to the boil. Reduce the heat to low and simmer for 15-20 minutes, stirring occasionally, or until thickened to a thick sauce consistency. Remove from the heat and season with sugar, salt and freshly ground black pepper, to taste. Set aside to cool.
-
Preheat the oven to 230°C (210°C fan-forced).
-
Knock back the dough by punching it in the centre with your fist. Turn onto a lightly floured bench top and knead briefly until reduced to its original size. Divide the dough into 2 equal portions. Roll out one portion on a piece of non-stick baking paper large enough to line a large heavy oven tray to a rectangle about 3mm thick. Transfer to the tray and prick all over with a fork. Repeat with the remaining dough and another piece of non-stick baking paper and large oven tray.
-
Spread the pizza bases with the pizza sauce leaving a border around the edge. Top with the bocconcini and semi-dried tomatoes (if using), dividing evenly. Bake in preheated oven for 15-18 minutes, swapping the trays after 8 minutes, until the bases are crisp, golden and cooked through.
- Remove from the oven, cut into portions and serve topped with the fresh tomatoes (if using), prosciutto and rocket, sprinkled with freshly ground black pepper and drizzled with a little olive oil.
Photography by Julie Renouf.
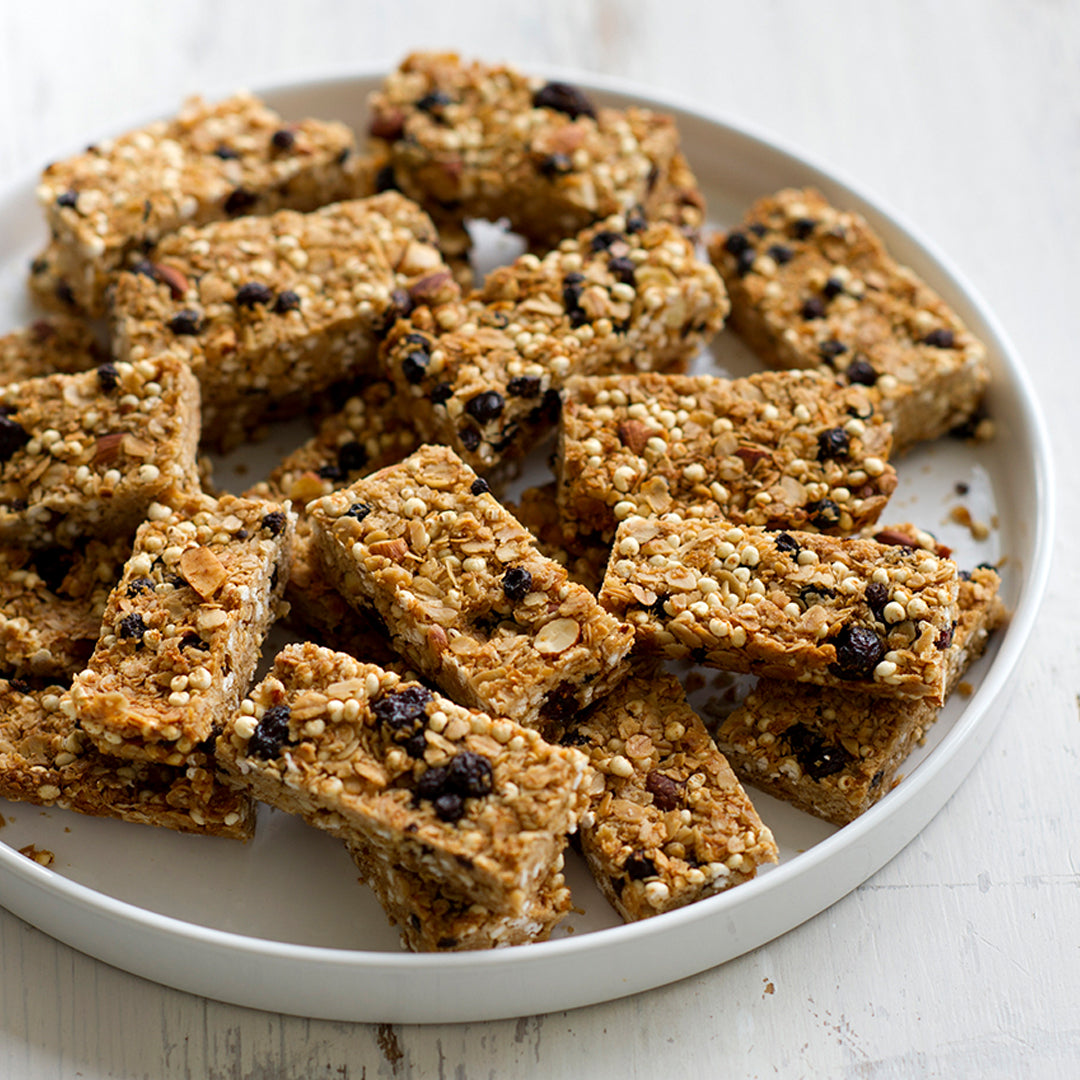
Prep 15min (+ cooling time)Bake 45-55minMakes about 24
Knowing what is going into your muesli bars is the key to good ones – it makes them so much healthier and tastier.
Ingredients
260g (180ml / ¾ cup) good-quality honey
125ml (½ cup) sunflower oil or light olive oil
250g (2½ cups) rolled oats
30g (1½ cups) puffed millet
45g (½ cup) desiccated coconut
1½ teaspoon ground cinnamon
55g (⅓ cup) sweetened dried cranberries
75g (½ cup) currants
80g (½ cup) raw almonds, coarsely chopped (see Baker’s Tips)
Method
- Preheat the oven to 140ºC (120°C fan-forced). Lightly grease a shallow 20 x 30cm (base measurement) slice tin and line the base and sides with non-stick baking paper.
- Put the honey and oil in a small saucepan over medium heat and stir until well combined and heated through. Set aside.
- Put the rolled oats, millet, coconut, cinnamon, cranberries, currants and almonds in a large bowl and mix to combine evenly. Add the honey mixture and stir to combine well. Using damp hands, press the mixture firmly into the lined tin. Press the mixture with the back of a spoon to make the surface smooth and even.
- Bake for 45–55 minutes or until the surface is dark golden brown all over. Cool completely in the tin before cutting into 24 bars with a sharp knife.
Baker's Tips
- For a nut-free version, substitute the almonds with ⅓ cup sunflower seeds or pepitas (pumpkin seeds).
- These muesli bars will keep in an airtight container at room temperature for up to 1 week. Alternatively they also freeze well for up to 3 months – wrap individual bars in plastic wrap and then seal in an airtight container or freezer bag. Thaw at room temperature.
- For extra-crisp muesli bars, store in an airtight container in the fridge.
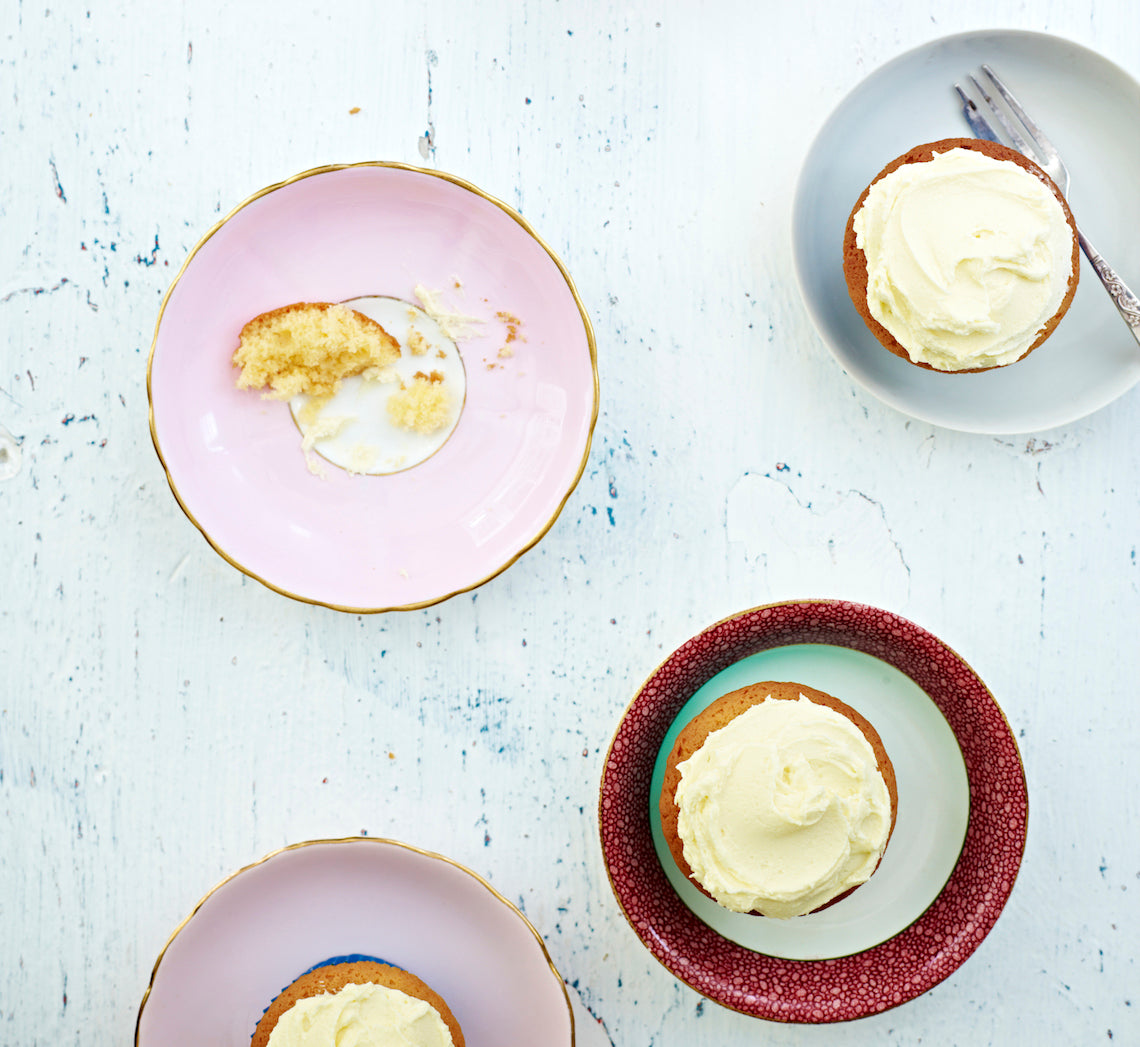
Prep 15min (+35min cooling time)Bake 20-25minMakes 12
A good basic vanilla cupcake recipe is a must in anyone's repertoire. This one is not only super simple but also incredibly reliable – just make sure your butter is at room temperature and soft enough to make an indent when you press your finger into it lightly. The Vanilla Buttercream quantity will make enough for piping it onto your cupcakes, but if you prefer to spread it you only need to make half the quantity.
Ingredients
185g (1¼ cups) self-raising flour
165g (⅔ cup) caster sugar
125g butter, softened
80ml (⅓ cup) milk
2 eggs, at room temperature
2 teaspoons Queen Natural Vanilla Extract or Essence
Edible sprinkles of your choice (optional)
Vanilla Buttercream
250g salted butter, at room temperature
2 teaspoons Queen Natural Vanilla Extract or Essence
60ml (¼ cup) thickened cream, plus extra if required
350g icing sugar mixture, sifted
Method
- Preheat the oven to 180°C (160°C fan-forced). Line a 12-hole 80ml (⅓ cup) muffin tin with paper cases.
- Place the flour, sugar, butter, milk, eggs and vanilla in a large mixing bowl. Use an electric mixer to beat on low speed until combined. Increase the speed to high and beat for 3 minutes or until the mixture is well combined, creamy and very pale in colour. Spoon the mixture into the paper cases, dividing evenly.
- Bake for 20-25 minutes or until the cupcakes are golden and a skewer inserted into the centre comes out clean. Cool for 5 minutes in the tin, then transfer to a rack to cool completely (this will take about 30 minutes).
- To make the Vanilla buttercream, use an electric mixer to beat the butter and vanilla , scraping down the side of the bowl when necessary, until very pale and creamy. Add the cream and beat on medium speed for 1-2 minutes or until very creamy. Add the icing sugar and beat on low speed until combined. Increase speed to medium-high and beat for 2-3 minutes or until light, creamy and a good spreading or piping consistency. Beat in another tablespoon of cream if the buttercream needs thinning slightly.
- Pipe or spread the buttercream onto the cooled cupcakes and decorate, if desired.
Baker's Tip
- These cupcakes will keep in an airtight container at room temperature in a cool spot for up to 2 days.
Photography by Julie Renouf.
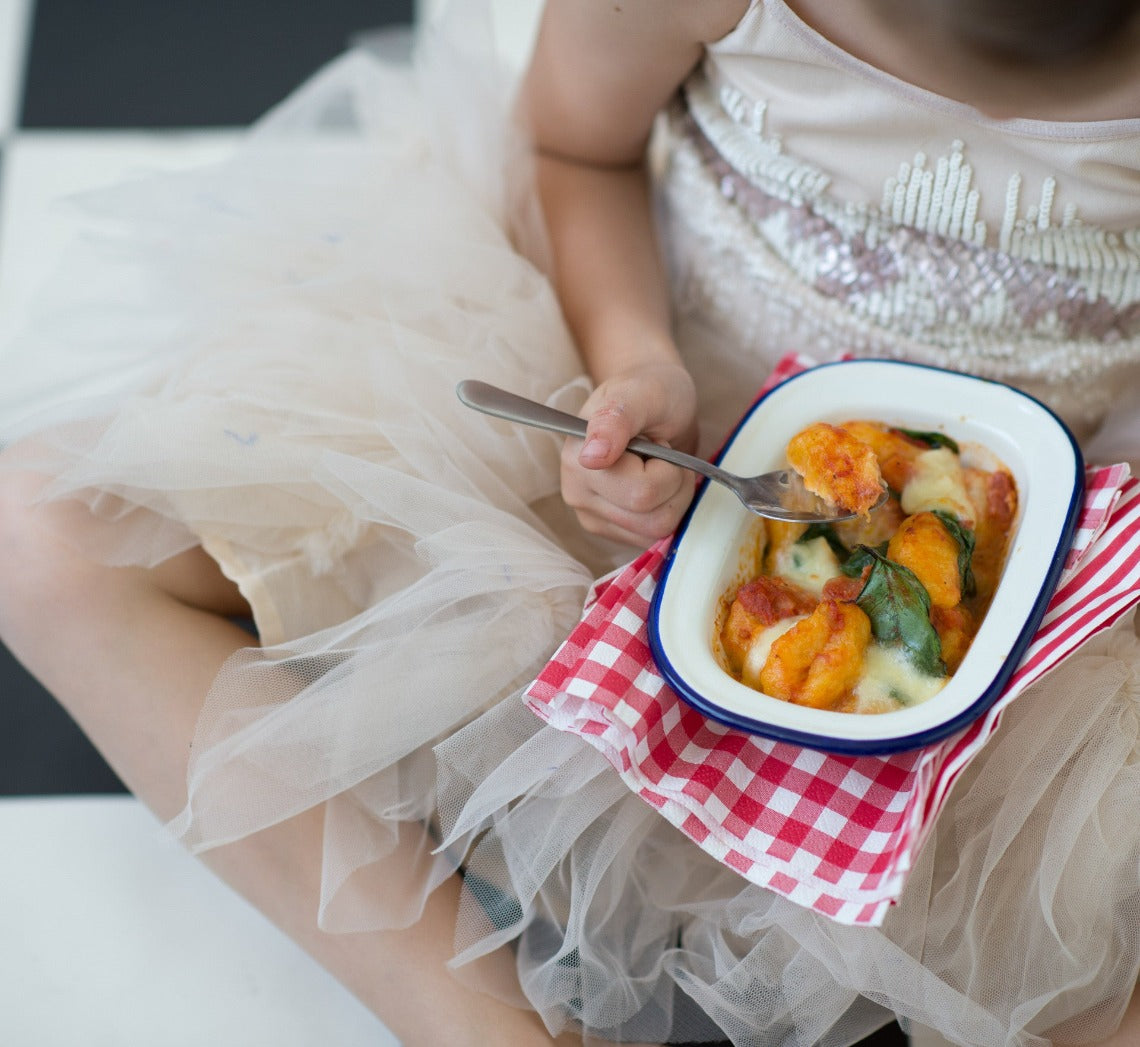
Prep 1hrBake 55minMakes 6 serves
Fun to make and scrumptious to eat, this homemade baked gnocchi combines pumpkin, tomatoes and spinach for a delicious, nutritious meal, made all the more fun by being served in individual dishes.
Ingredients
75g baby spinach
100g bocconcini, thinly sliced
Pumpkin gnocchi
350g unpeeled butternut pumpkin, deseeded and cut into 6 chunks
650g medium Desiree potatoes, unpeeled
salt and freshly ground black pepper, to taste
110g (½ cup) plain flour, plus extra to dust
Tomato sauce
100g bacon rashers, trimmed and chopped
1 garlic clove, crushed
1 x 400g can chopped tomatoes
1 teaspoon sugar
2 tablespoons pouring cream
salt and freshly ground black pepper, to taste
Method
- Preheat oven to 180°C (160°C fan-forced). Line a tray with a clean tea towel and dust lightly with flour.
- Place the pumpkin in an ovenproof dish, cover with foil and bake in preheated oven for 40 minutes or until tender when tested with a skewer. Set aside to cool slightly. Increase the oven temperature to 200°C (180°C fan-forced).
- Meanwhile, put the whole potatoes in a saucepan of water, cover with a lid and bring to the boil over medium heat. Boil for 30 minutes or until the potatoes are tender with tested with a skewer. Drain and set aside until cool enough to handle.
- Next, peel the warm potatoes, return the flesh to the dry saucepan and mash until smooth. Use a metal spoon to press a third of the potatoes through a coarse sieve or fine colander into a large bowl. Repeat with the remaining mashed potato in 2 more batches.
- Remove the pumpkin skin from the flesh and discard. Add the flesh to the potato and mash together. Season well with salt and pepper. Add the flour and use a wooden spoon and then your hands to mix to a firm but slightly sticky dough (adding a little more flour if necessary). Divide the dough into 4 equal portions and roll each out on a lightly floured bench top into a log about 2cm in diameter. Cut the logs into 2cm lengths and then roll each into a small ball. Gently roll each ball, one at a time, over the back of a lightly floured fork to form the gnocchi, placing on the tea towel-lined tray as they are finished.
- To make the tomato sauce, cook the bacon in a small saucepan over medium-high heat for 5 minutes, stirring occasionally, or until starting to colour. Add the garlic and cook for 1 minute or until aromatic. Add the tomatoes and sugar, bring to a simmer and simmer over medium-low heat for 10 minutes or until thickened slightly. Remove from the heat, stir through the cream and season with salt and pepper.
- Bring a large saucepan of salted water to the boil. Add a quarter of the gnocchi and boil for 2 minutes or until they just rise to the surface. Remove from the water immediately with a slotted spoon and place in a colander to drain well before transferring to a large bowl. Repeat with the remaining gnocchi in 3 more batches.
- Add the tomato sauce to the gnocchi with the spinach and gently stir through. Spoon the gnocchi and sauce into 6 x 250ml (1 cup) ovenproof dishes or ramekins, dividing evenly. Top with the bocconcini.
- Bake in preheated oven for 15 minutes or until bocconcini has melted and the sauce is bubbling. Remove from the oven and stand for 5 minutes before serving.
Baker's Tips
- You can also make this baked gnocchi by using 750g bought fresh gnocchi instead of making the pumpkin gnocchi.
- You can also bake this recipe in a 1.5 litre (6 cup) ovenproof dish. The baking time and temperature will be the same.
This recipe is from Anneka's SBS Food online column, Bakeproof: Kids in the Kitchen. CLICK HERE for more Bakeproof recipes.
Photography by Alan Benson.
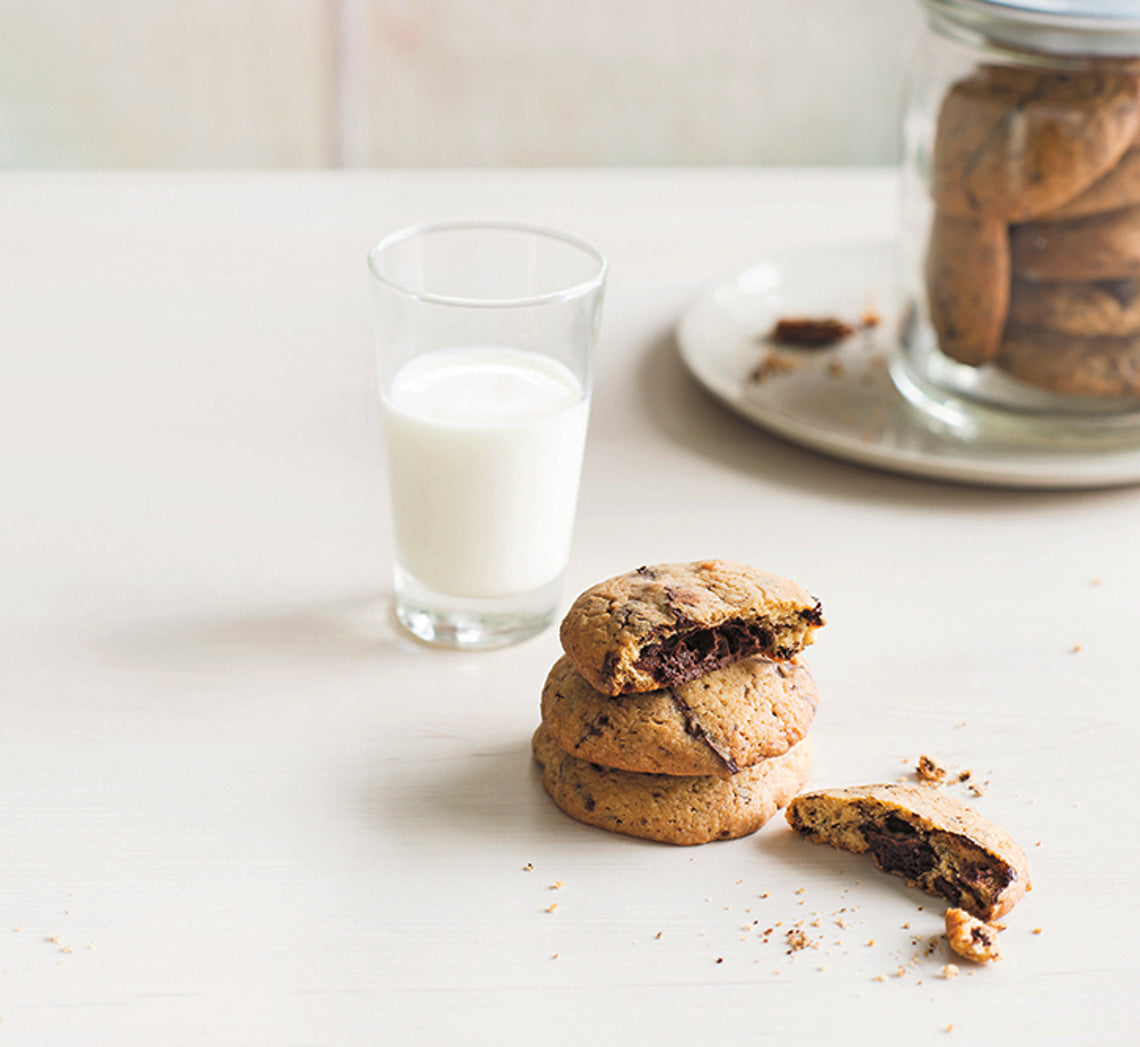
Prep 15min (+ 30min cooling time)Bake 20minMakes about 30
These good old-fashioned cookies are simple to make and even easier to devour! Either dark or milk chocolate (or a combination of the two) will work well – just take your pick. Eat them with a glass of cold milk.
Ingredients
125g butter, at room temperature, cubed
220g (1 cup, firmly packed) brown sugar
1 teaspoon natural vanilla extract or essence
2 eggs, at room temperature
300g (2 cups) plain (all-purpose) flour
1 teaspoon baking powder
200g good-quality dark or milk chocolate, chopped, or chocolate chips
Method
- Preheat the oven to 180°C or (160°C fan-forced). Line two large baking trays with baking paper.
- Use an electric mixer to beat the butter, sugar and vanilla until pale and creamy. Add the eggs one at a time, beating well after each addition. Sift together the flour and baking powder, add to the butter mixture and use a wooden spoon or spatula to mix until well combined. Mix in the chocolate.
- Roll tablespoonfuls of the mixture into balls and place on the oven trays, leaving about 5cm between each for spreading. Flatten each ball to about 5 cm in diameter.
- Bake in the preheated oven for 20 minutes, swapping the trays around halfway through baking, or until light golden and cooked through. Leave the cookies on the trays until cool (about 30 minutes).
Baker's Tips
- These cookies will keep in an airtight container at room temperature for up to 1 week.
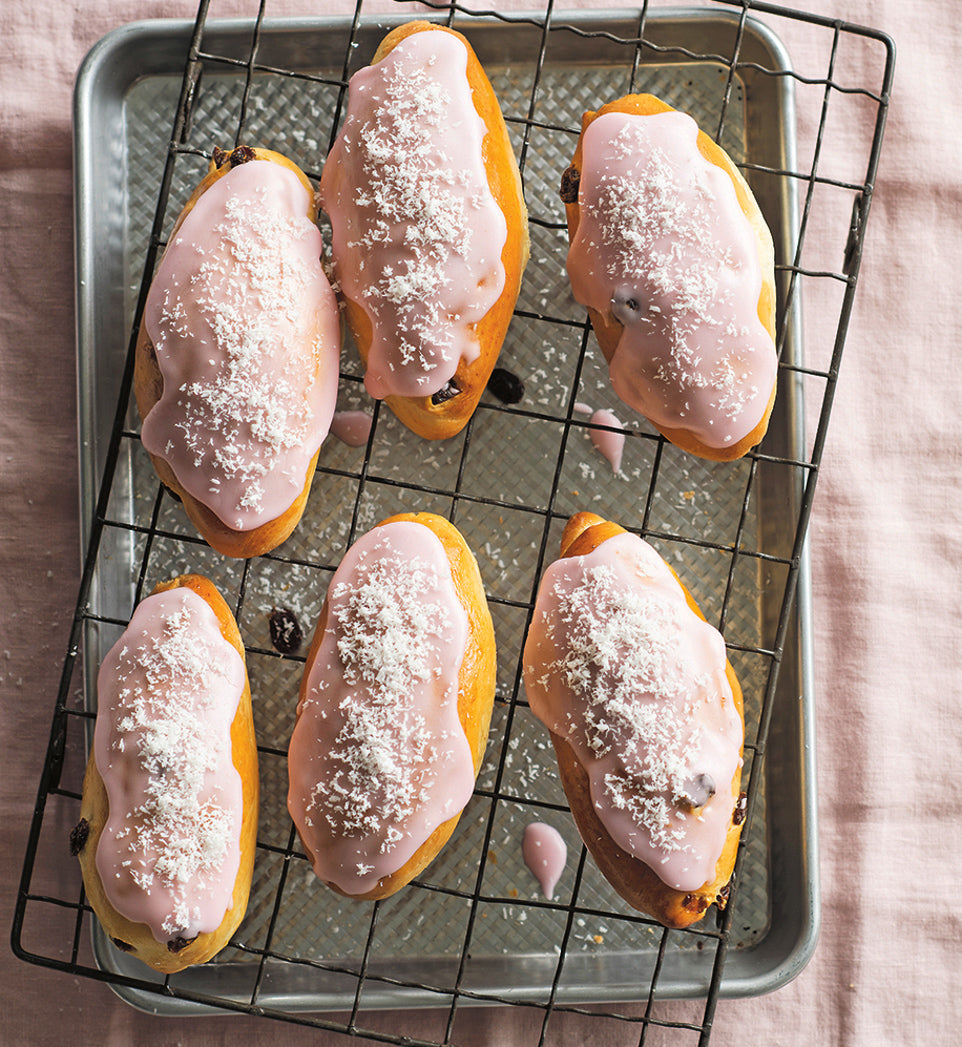
Prep 40min (+1.5hr proving and 20min standing time)Bake 25minMakes about 12
Just milk bread studded with sultanas, topped with pink icing and finished with coconut – it's the simplicity that gives the finger bun its appeal!
Ingredients
375g (2½ cups) strong bread or pizza flour, plus extra, to dust
2 tablespoons caster (superfine) sugar
60g (⅓ cup) sultanas (golden raisins)
7g (1 sachet) dried yeast
½ teaspoon salt
200ml milk
40g butter, cubed
2 eggs, at room temperature
1 teaspoon natural vanilla extract or essence
Melted butter, to grease
185g (1½ cups) pure icing (confectioners') sugar
5 teaspoons water
Pink food colouring (about 3 drops)
2 tablespoons desiccated coconut, to sprinkle
Method
- To make the dough, combine the flour, sugar, sultanas, yeast and salt in a large bowl and make a well in the centre. Combine the milk and butter in a small saucepan and heat over low heat for 2–3 minutes, or until the butter has melted and the milk is lukewarm. Remove from the heat. Whisk one of the eggs with the vanilla and add to the butter and milk mixture. Whisk to combine. Add to the flour mixture. Use a wooden spoon and then your hands to mix to a soft dough.
- Turn the dough onto a lightly floured bench top and knead for 8–10 minutes or until it is smooth and elastic and springs back when you push your finger into it.
- Brush a large bowl with melted butter, to grease. Add the dough, turning it to coat lightly with the butter. Cover with plastic wrap and place in a warm, draught-free place for 1 hour or until doubled in size.
- Preheat the oven to 180°C (160°C fan-forced). Line two baking trays with baking paper.
- When the dough has doubled in size, knock it back by punching it in the centre with your fist. Turn onto a lightly floured bench top and knead for 2–3 minutes or until smooth and elastic. Divide the dough into 12 equal portions. Shape each portion into a long oval shape about 12cm long and 3cm wide in the centre, and place on the lined trays, leaving about 5cm between them. Cover with a slightly damp tea towel (dish towel) and set aside in a warm, draught-free place for 30 minutes or until well risen.
- Whisk the second egg and brush the rolls with it to glaze. Bake in the preheated oven for 25 minutes, swapping the trays halfway through baking, or until the buns are golden and sound hollow when tapped on the base. Transfer to a wire rack to cool.
- To make the Topping, sift the icing sugar into a medium bowl. Use a wooden spoon to stir in the water and mix to a very thick pouring consistency. Add 2–3 drops of pink food colouring to tint the icing. Spread the cooled finger buns with the icing, allowing it to drizzle down the sides. Sprinkle with the coconut and set aside for 20 minutes for the icing to set before serving. These finger buns are best eaten on the day they are made.
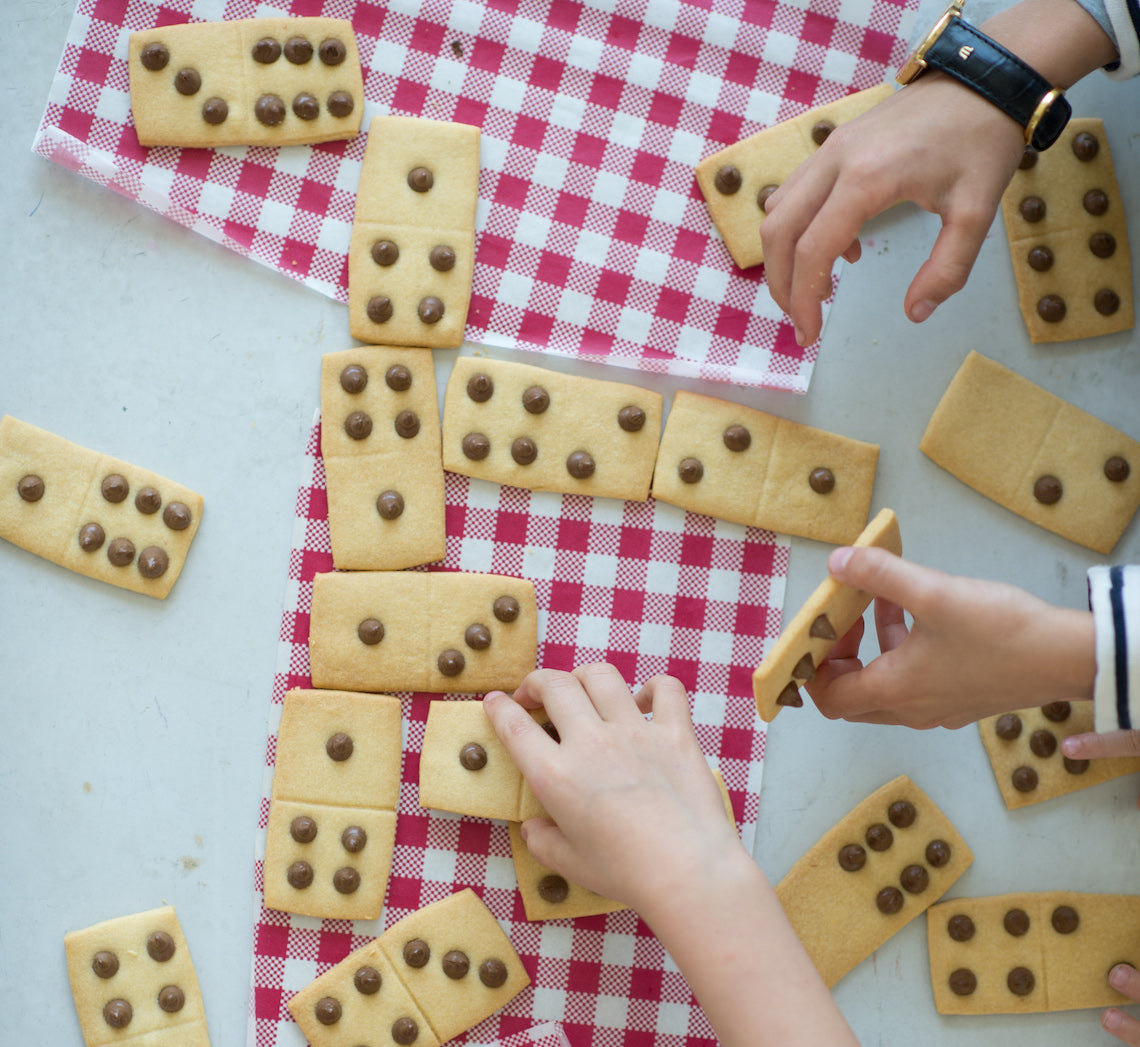
Prep 25min (+30min chilling and 30min cooling time)Bake 25minMakes about 40
Sipping on malted milk milkshakes and playing dominos is a vivid childhood memory. These biscuits combine the two and kids will love not only creating them, but also playing with them as they snack — all you need is a glass of milk!
Ingredients
250g butter, softened slightly
110g (½ cup) caster sugar
1 egg yolk
375g (2½ cups) plain flour
60g (½ cup) malted milk powder
Dark or milk Choc Bits (chocolate chips), to decorate
Method
- Preheat the oven to 160°C (140°C fan-forced). Line two large oven trays with non-stick baking paper.
- Use an electric mixer to beat the butter and sugar until smooth and just combined. Add the egg and beat until well combined.
- Add the flour and malted milk powder to the butter mixture and beat on low speed until just combined evenly and a dough forms.
- Turn the dough onto a lightly floured surface and knead lightly and briefly until it just comes together. Divide the dough into two portion. Use a lightly floured rolling pin to roll out one portion to 5mm thick. Use a large sharp knife and a ruler to cut the dough into 4cm x 8cm rectangles; re-rolling any off cuts as necessary. Use the knife to make a shallow indent across the middle of each biscuit. Place on the lined oven trays, leaving about 2cm between each. Press the Choc Bits into the biscuits to resemble dominos. Repeat with the remaining dough portion and Choc Bits. Place in the fridge to chill for 30 minutes.
- Bake in preheated oven for 25 minutes, swapping the trays around after 10 minutes, or until pale golden and cooked through. Cool on the trays.
Baker's Tips
- These biscuits will keep in an airtight container at room temperature for up to 1 week.
This recipe is from Anneka's SBS Food online column, Bakeproof: Kids in the Kitchen.
CLICK HERE for more Bakeproof recipes.
Photography by Alan Benson.
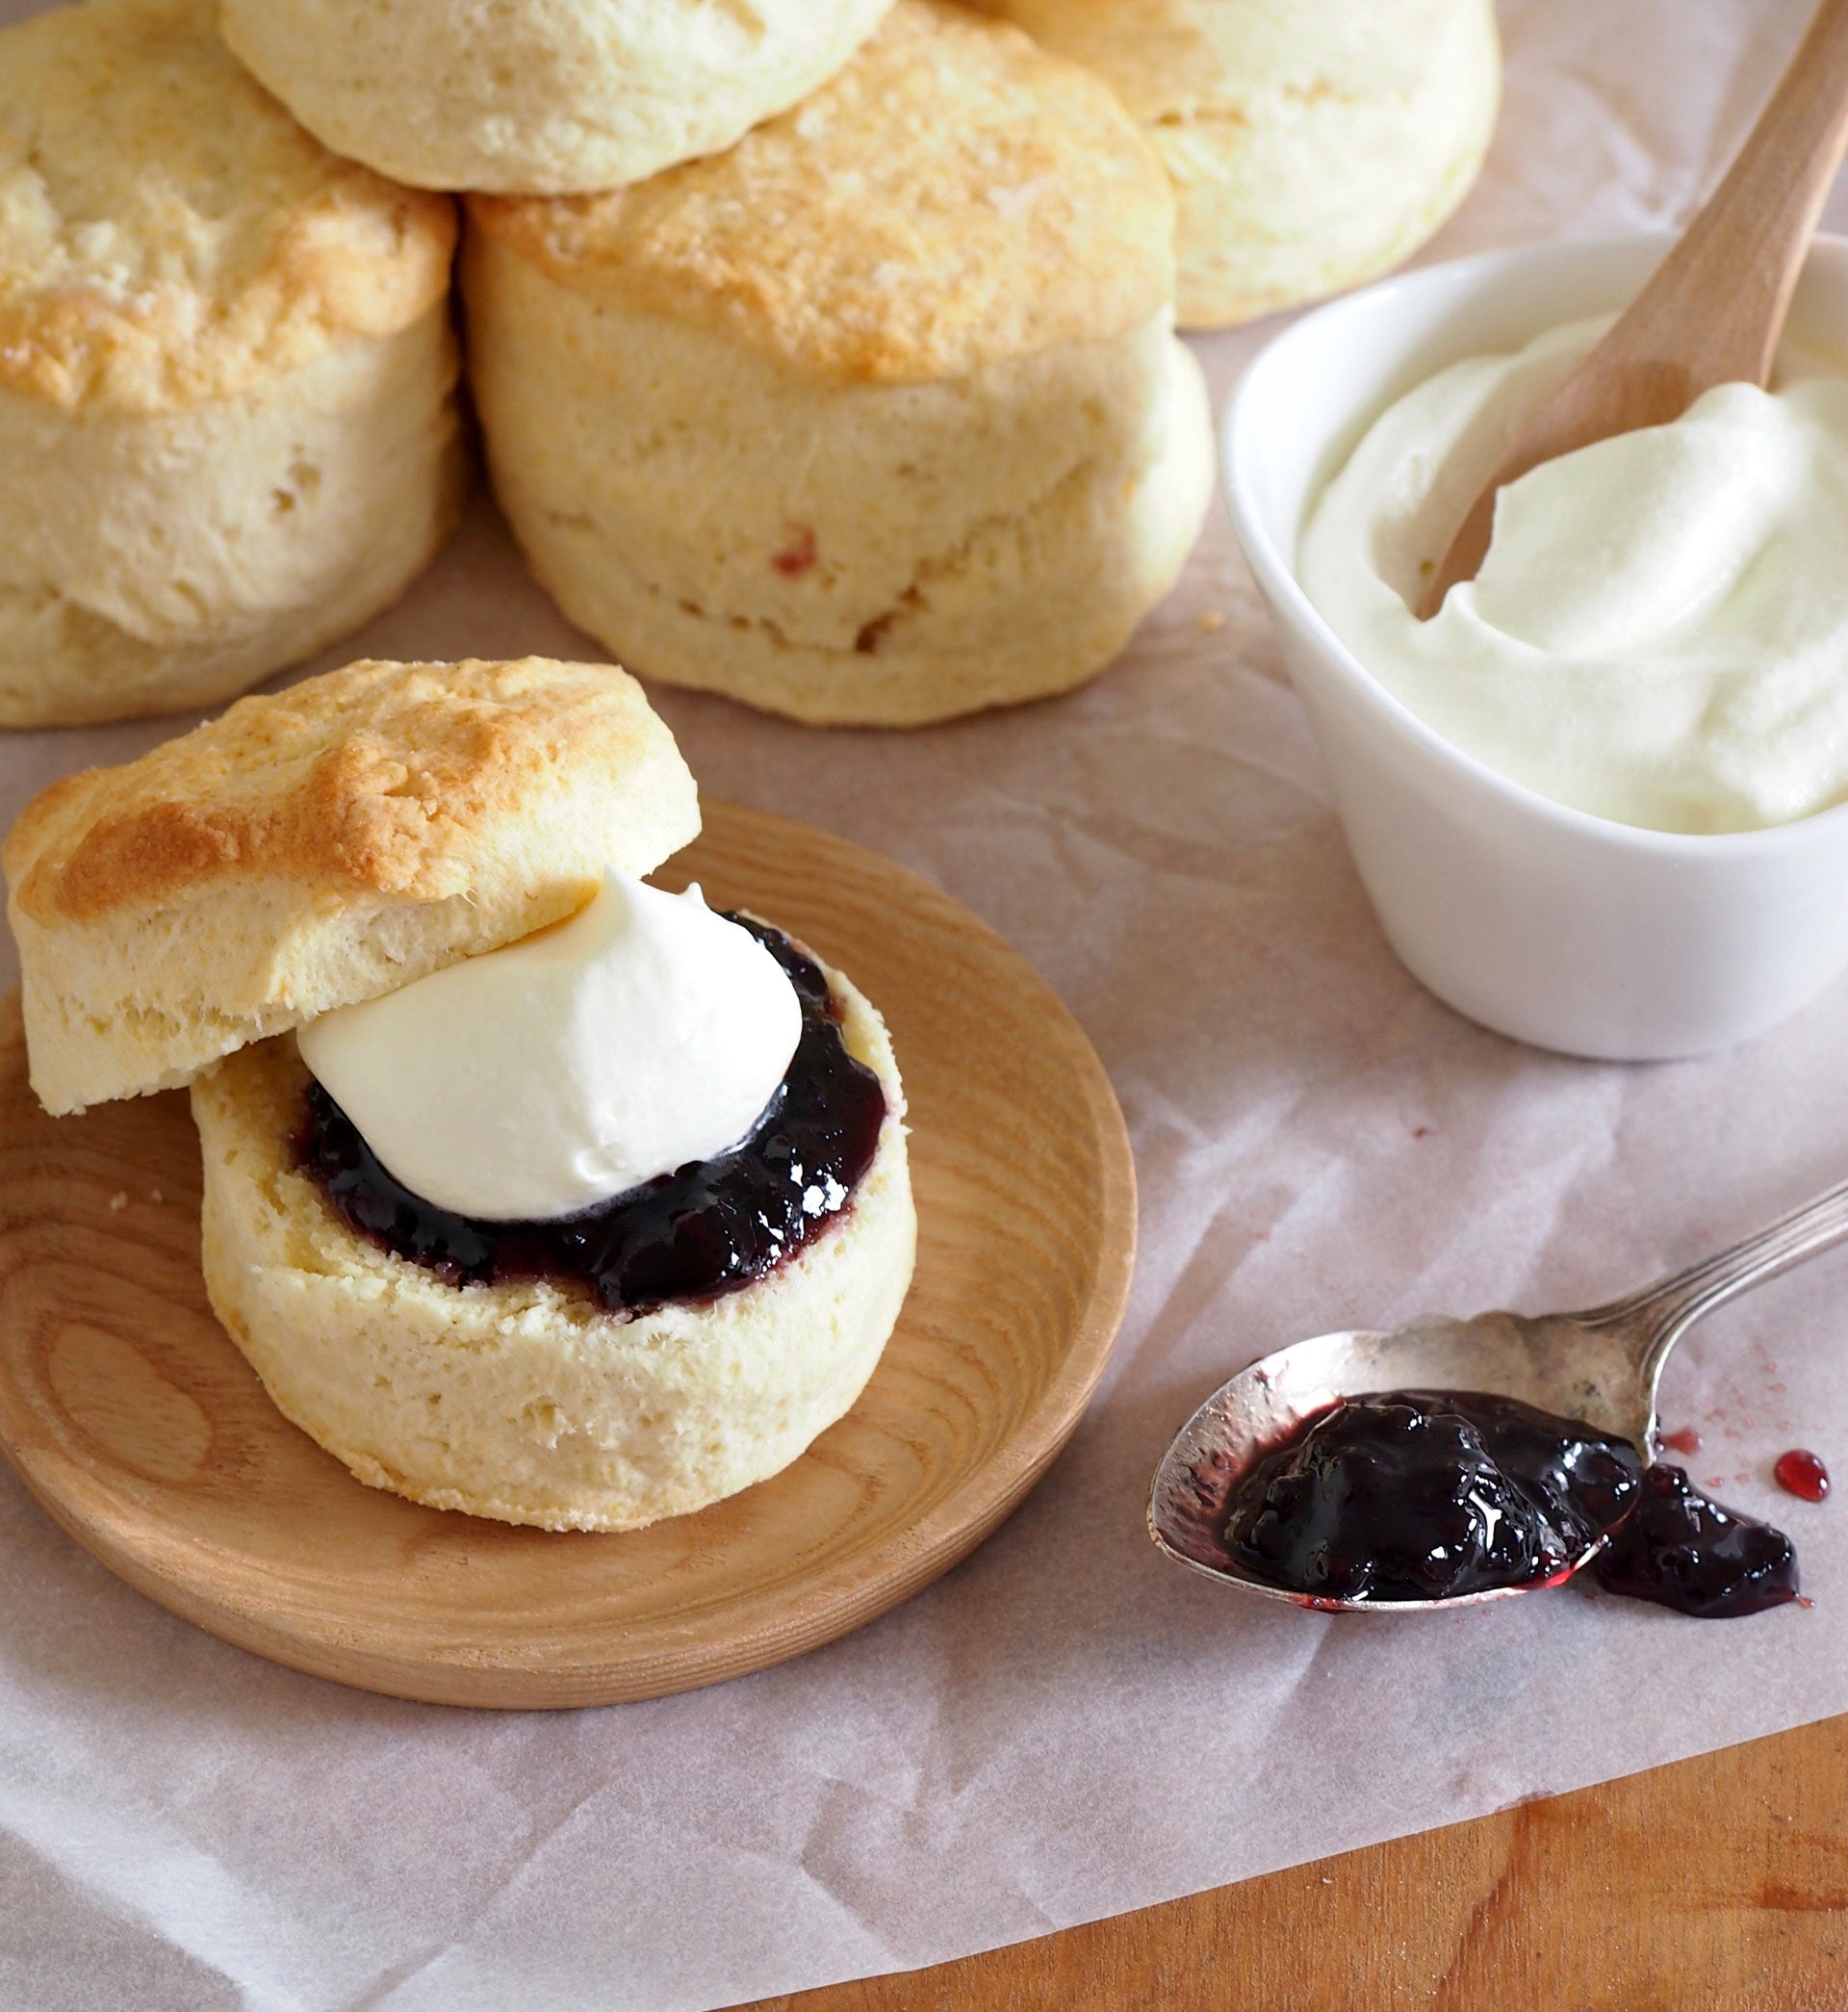
Prep 10minBake 15-18minMakes about 9
Scones are what I whip up if time is short – they are simple, fast and everyone loves them. The secret to the lightness of these scones is the surprising combination of lemonade and cream (instead of milk) – it may seem a little odd but, believe me, it works!
Ingredients
450g (3 cups) self-raising flour, plus extra, to dustPinch of Salt
80g butter, cubed, softened slightly
125ml (½ cup) lemonade, at room temperature
185ml (¾ cup) pouring cream, plus extra to glaze
Berry jam and whipped cream, to serve
Method
- Preheat the oven to 200°C. Lightly grease a baking tray with butter and then lightly dust with flour, shaking off any excess.
- Put the flour and salt in a medium bowl. Use your fingertips to rub in the butter until the mixture resembles fine breadcrumbs and the butter is evenly incorporated. Make a well in the centre.
- Combine the cream and lemonade, add to the flour mixture and use a flat-bladed knife to mix with a cutting action until the dough comes together in clumps.
- Use lightly floured hands to bring the dough together – it will be soft, but not sticky. Place on a lightly floured surface and knead lightly and briefly (only about 6 times) to bring it together in a smooth ball.
- Use the palm of your hand to flatten the dough out to about 2cm thick. Using a floured 6 cm round cutter, cut the dough into 9 rounds. Gathering the offcuts and, without over handling, pressing out as before, when necessary. Place on the prepared tray, 1-2cm apart. Use a pastry brush to lightly brush the top of each scone with a little extra cream, then dust with a little extra flour.
- Bake in the middle of the preheated oven for 15-18 minutes, until the scones are lightly golden and cooked through; they are ready if they sound hollow when you tap them on the base. Serve warm or at room temperature, split and topped with jam and cream.
Baker's Tips
- These scones are best eaten on the day they are made.
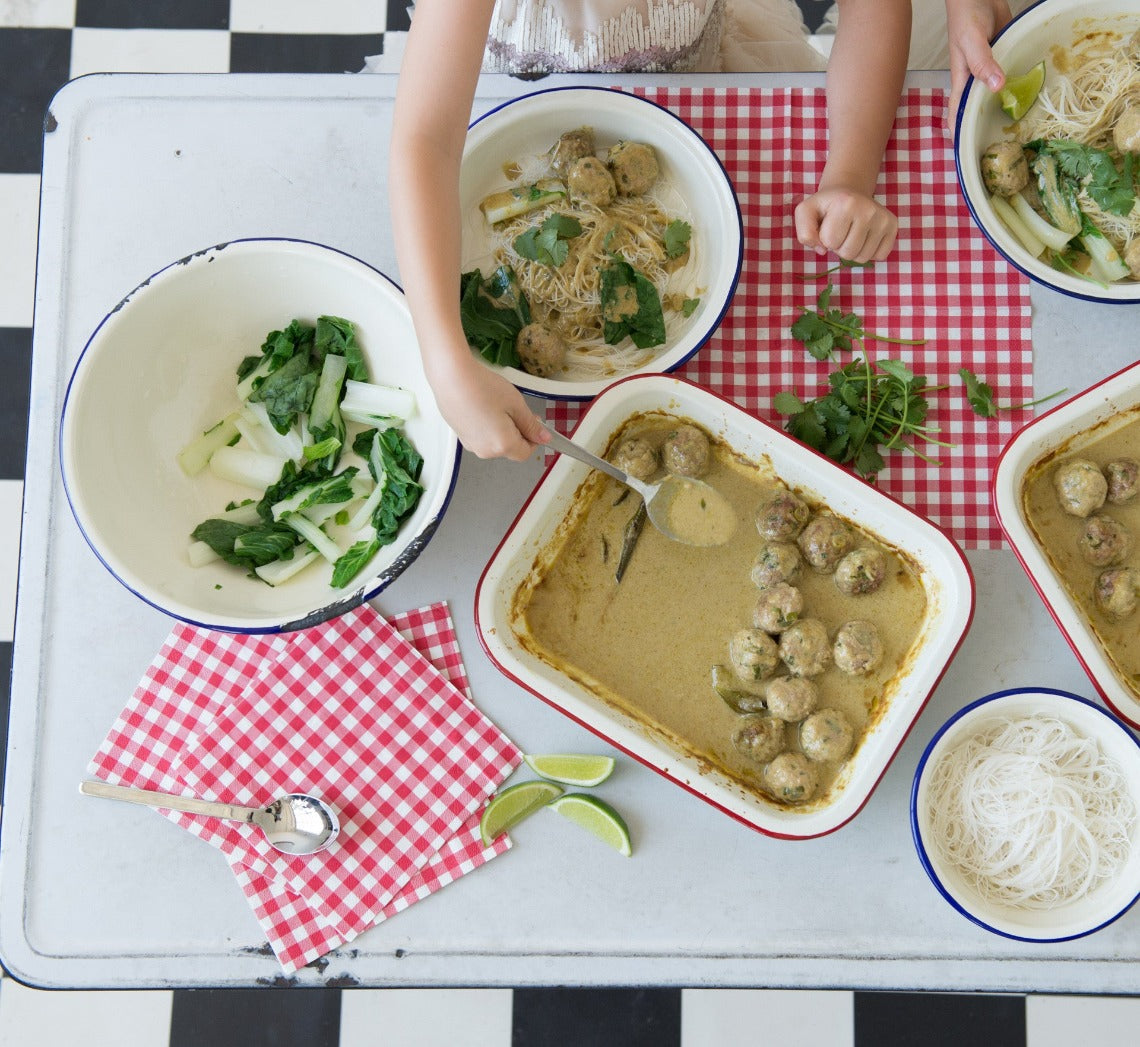
Prep 30minBake 30minMakes 4-6 serves
Any recipe that gets kids rolling balls of mixture will help develop their fine motor skills no matter what their age. Fun to make, these meatballs also encourage independence — put all the components in the middle of the table for everyone to help themselves.
Ingredients
200g dried rice vermicelli, cooked according to packet directions
fresh coriander leaves, lime wedges and steamed asian greens, to serve
Meatballs
500g pork and veal mince (see Baker's Tips)
18g (⅓ cup) panko rice crumbs
2 tablespoons milk
3 teaspoons finely grated fresh ginger
1½ tablespoons finely chopped drained canned water chestnuts
5 green shallots, thinly sliced
⅓ cup finely chopped coriander
Sauce
2 teaspoon peanut oil
3 tablespoons good-quality green curry paste, or to taste (see Baker's Tips)
125ml (½ cup) good-quality chicken stock
500ml (1 cup) water
440ml can coconut milk
4 kaffir lime leaves
2 teaspoons fish sauce, or to taste
1 tablespoon lime juice, or to taste
2 teaspoon grated palm or brown sugar, or to taste
Method
- Preheat oven to 180°C (160°C fan-forced).
- Combine the mince, crumbs, milk, ginger, water chestnuts, green shallots and coriander in a large bowl and mix well with your hands until thoroughly combined. Use damp hands to roll 2 teaspoonfuls of the mixture into balls and place in one layer in a shallow 20cm x 30cm/2.5 litre (10 cup) capacity ovenproof dish. Cover and place in the fridge while making the sauce.
- To make the sauce, combine the peanut oil and curry paste in a medium saucepan and cook over medium-high heat for 2-3 minutes, stirring occasionally, or until aromatic. Add the stock, coconut milk, kaffir lime leaves, fish sauce, lime juice and sugar and bring just to a simmer over medium heat.
- Pour the sauce over the meatballs. Bake in the preheated oven for 30 minutes or until the meatballs are just cooked through. Taste the sauce and adjust seasoning with extra fish sauce, lime just and sugar if desired.
- Divide the noodles among four bowls and spoon over the meatballs and some of the sauce. Top with coriander leaves and serve with lime wedges and steamed Asian greens.
Baker's Tips
- You can also use just pork mince for this recipe.
- You may find you need to use a little less or add a little more green curry paste depending on the brand you use as they can vary greatly in flavour and heat intensity. Keep also in mind your childrens' flavour preferences as you don’t want to make it too hot for their sensitive tastebuds.
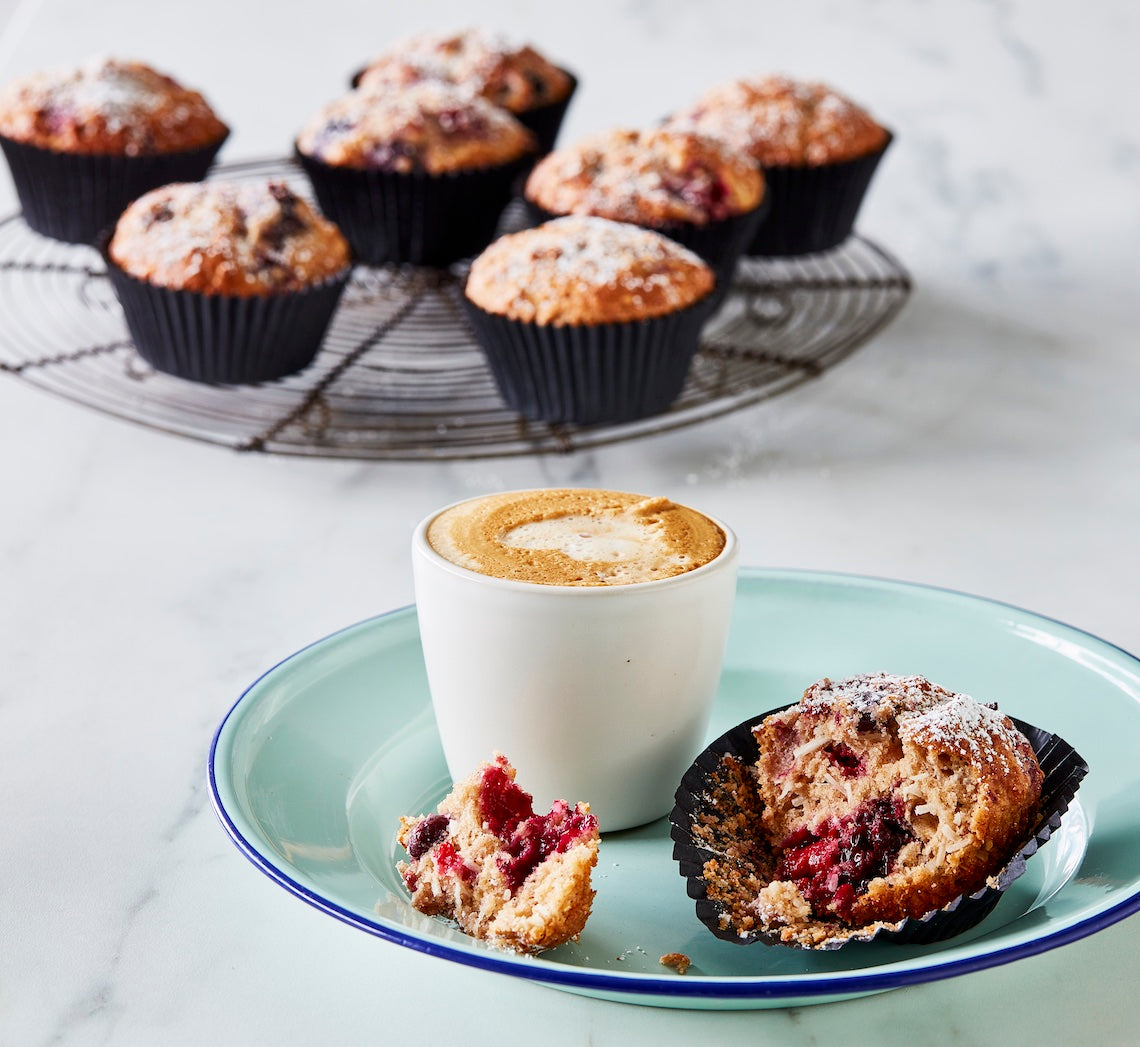
Prep 20minBake 25-28minMakes 12
Good muffins should have substance. They shouldn't be too light and airy, or overly sweet – they are muffins, after all, not a cake. My favourites are dense with fruit (like this one), include wholemeal flour to add texture (and a little wholesomeness) and are subtly spiced (cinnamon is always good). This recipe is particularly easy to whip up.
Ingredients
150g (1 cup/5¼oz) plain flour150g (1 cup/5¼oz) wholemeal plain flour
1 tablespoon baking powder
2 teaspoons ground cinnamon
185g (1 cup/6½oz) raw caster sugar
50g (⅔ cup/1¾oz) shredded coconut
300g frozen mixed berries (see Baker's Tips)
185ml (¾ cup/6½fl oz) buttermilk
80ml (⅓ cup/2½fl oz) light olive oil, safflower or sunflower oil
2 eggs, at room temperature
1½ teaspoons natural vanilla extract or essence
Method
- Preheat the oven to 190°C/375°F (170°C/340°F fan-forced). Line 12 x 80ml (⅓ cup/2½fl oz) muffin tray holes with muffin paper cases.
- Sift together both the flours, the baking powder and cinnamon into a large mixing bowl, returning any husks to the bowl. Stir in the sugar and coconut. Gently stir in the frozen berries. Make a well in the centre.
- Use a fork to whisk together the buttermilk, oil, eggs and vanilla in a bowl. Add to the flour mixture and use a spatula or large metal spoon to fold together until just combined. (Don’t overmix – the batter should still be a little lumpy.)
- Spoon the mixture into the paper cases, dividing evenly. Bake in preheated oven for 25-28 minutes or until the muffins are golden and cooked when tested with a skewer. Cool for 3 minutes in the tin, then turn out onto a wire rack. Serve warm or at room temperature.
Baker's Tips
- You can replace the raw caster sugar with 220g (1 cup, firmly packed) brown sugar if you like.
- You can replace the wholemeal plain flour with 150g (1 cup/5¼oz) wholemeal spelt plain flour.
- There’s no need to thaw the frozen berries before using them in this recipe.
- These muffins are best eaten the day they are baked, however they freeze well. Wrap individually in plastic wrap and then seal in a plastic bag or airtight container. Freeze for up to 3 months. Thaw at room temperature.
Photography by Steve Brown


